


How to choose your puncture sealant liquid?
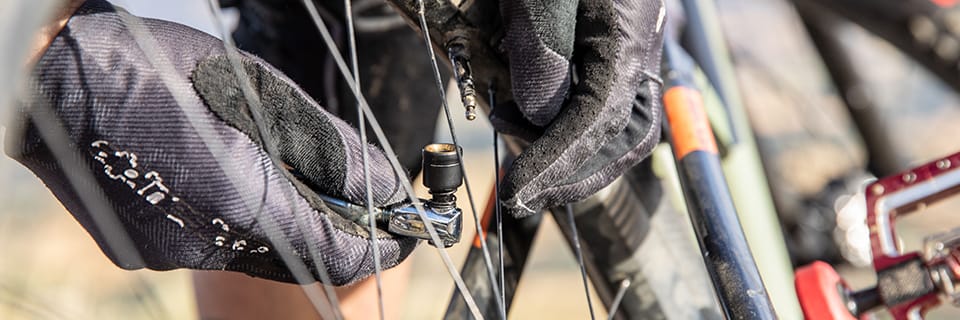
Did your last MTB ride end in multiple punctures? After spending hours searching for holes in a bowl of water, carefully sanding the rubber, and sticking on patches, you finally opted for a Tubeless Ready setup to do away with inner tubes for good. But do you still have doubts about which puncture sealant to choose?
Here are a few tips to help you better understand the wide choice of puncture sealant liquids available on the market.
What is the purpose of bicycle puncture sealant liquid?
A tubeless ready tyre allows you to ride without an inner tube. To do this, its beads have been specifically designed to ensure proper retention on the rim and an airtight seal. That said, like tubeless ready rims, the sidewalls of these tyres are not airtight. Therefore, it is essential to use a liquid when fitting, whose action will be twofold: on one hand, it serves to seal the whole assembly; and on the other, it acts as a puncture sealant, sealing the small perforations caused by the terrain or overly aggressive riding.
Made from latex-based products, either synthetic or natural, these puncture prevention liquids serve both a preventive and repair role while riding, winning over both occasional and regular cyclists across leisure cycling, competition, muscle-powered riding, and electric-assisted riding.
It should not be confused with tyre mounting fluid or a puncture repair aerosol. Tyre mounting fluid helps to seat the tyre in the rim bed to make installation easier. The puncture repair aerosol, on the other hand, is for single use and repairs as well as quickly re-inflates your tyre without removing it in the event of small perforations during a ride or race.
How do you choose your puncture prevention liquid?
Selecting a puncture prevention product from the wide range offered by brands can quickly confuse the less knowledgeable among you. However, a quick overview will be enough to make your purchase like an expert!
Flexible single-dose pouches and dispensers with applicator caps of less than 250 ml are ideal for testing different formulas as well as for carrying in a backpack or toolbox. Bottles of less than 1 l sold with syringes or a pouring tube will appeal to cyclists who prefer a clean job, as they allow the tyre to be filled through the valve. As for bottles without an applicator kit and of more than one litre, they will serve riders who have more than one bike in their garage or who change tyres several times during the season.
The more fluid ones are favoured by competitors as they allow the tyre to be perfectly coated once spinning and quickly seal holes. Moreover, this low-viscosity consistency allows the liquid to be injected into the tyre through the valve, limiting the risk of blockage and without removing your tyre when topping up. It is also possible to choose a thicker liquid, in gel form, designed to seal perforations of a larger diameter.
Some sealants are specially formulated to work in conjunction with anti-pinch foam inserts. In other words, they are not absorbed by the foam.
If you wish to use it with a tubetype setup (with an inner tube), it is worth knowing that certain ranges of sealants are not suitable for latex inner tubes. In that case, you will need to opt for dedicated products that do not contain aggressive agents that could damage them.
For cyclists equipped with carbon rims, it is advisable to opt for an ammonia-free synthetic latex formula. The rims and tyres will thus be protected from corrosive agents and their qualities prolonged.
Usage and maintenance tips
Applying the sealant liquid in the wheel
Applying the product takes a little time, and sometimes patience. A few precautions should be kept in mind to achieve a clean application.
We explain everything:
By removing the tyre…
The most common and quickest method, though it requires a certain dexterity, involves using a tyre lever and slightly unseating the sidewall over about ten centimetres in order to pour the sealant liquid directly inside before remounting it. Once the wheel has been removed from the bike, position the tyre opening downwards and keep the wheel upright to avoid spilling the liquid outside the tyre. Once the liquid has been poured directly in, all that remains is to snap it back on — admittedly the trickiest step of the process. Remember to protect your clothes, as the sealant liquid can splash and permanently damage them.
If that is the case, don't panic — simply wipe the sealant drip immediately with a cloth soaked in solvent.
Through a Presta valve...
Another method is possible: it consists of injecting the sealant liquid directly between the tyre and the rim through the valve. This technique requires a container with an applicator or syringes and Presta valves with removable cores. After the operation, simply refit the valve core and inflate the tyres. This method is less messy, and above all it is perfect for rigid tyre setups requiring patience and a deft touch.
Through a Schrader valve...
If you are among those who cannot do without Schrader valves, it is possible to reproduce the previous technique by ensuring your valve core is removable. This operation is carried out using a valve core remover. Then simply insert the sealant directly into the empty part of the tyre through the valve using an injection syringe.
How much liquid should you use?
Now that you are up to speed on choosing your puncture sealant and fitting it, you are probably wondering how much to inject into your wheel?
It depends on the size and section of your tyre, as well as the manufacturer's recommendations. You can assume that the larger the dimensions, the more liquid you need. Here are a few key indicators:
- 700C rim: 30 ml to 60 ml;
- 26'' and 27.5" rim: between 60 ml and 90 ml;
- 29" rim: between 65 ml and 100 ml;
- 27.5+" and 29+" rim: 125 ml to 160 ml.
How do you distribute the liquid evenly in the wheel?
Once the liquid has been applied, inflate the tyre and spin the wheel to distribute the liquid evenly inside. First with the wheel off the bike, by hand.
Then, to finish, the most effective approach is to mount the wheel and ride a few hundred metres on your bike.
How often should you renew the application of puncture sealant liquid?
Puncture sealant liquid requires particular attention as it needs to be changed when necessary and checked fairly regularly. Indeed, it tends to dry out over time. The inspection frequency depends on several parameters, such as the tyre brand, riding frequency, the season, and even the type of sealant. On average, it is advisable to check every two to six months.
The absence of liquid or the presence of worn sealant will cause a significant and recurring pressure loss, in addition to no longer fulfilling its role in the event of a puncture. In MTB, for example, with a Tubeless Ready setup, it is not uncommon to lose sealant liquid while riding, particularly during a slightly too aggressive lean, causing a slight burp. It is easy to spot as tubeless sealant liquid stains the wheel and picks up dirt. If you notice this type of mark, it is best to top up this precious liquid before your next ride.
Découvrez tous nos conseils & Tutoriels
ACCESSORIES - Puncture Prevention
-
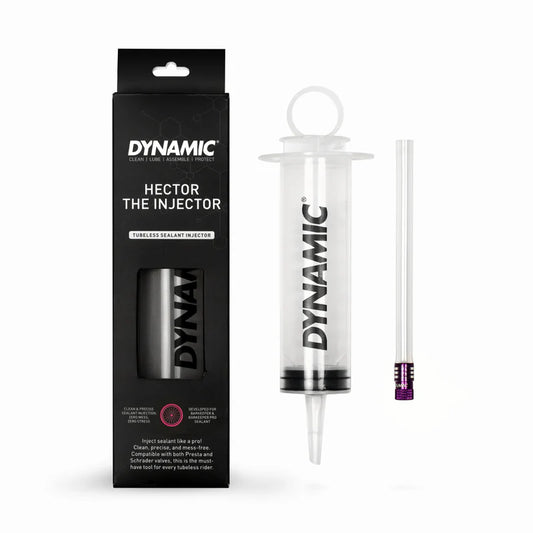
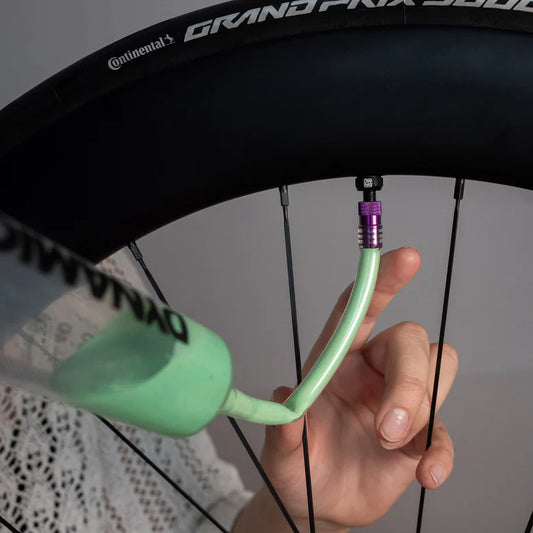
DYNAMIC HECTOR THE INJECTOR Tubeless Sealant Syringe
Regular price 14,99 €Regular priceUnit price per -
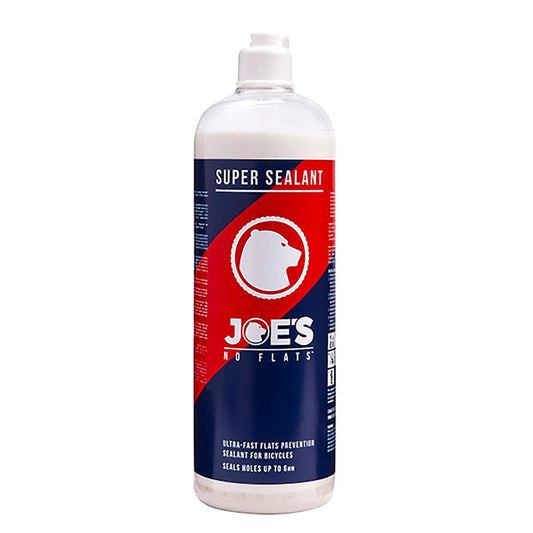
JOE'S NO-FLATS SUPER SEALANT Puncture Prevention Sealant (1L)
Regular price 19,99 €Regular priceUnit price per -
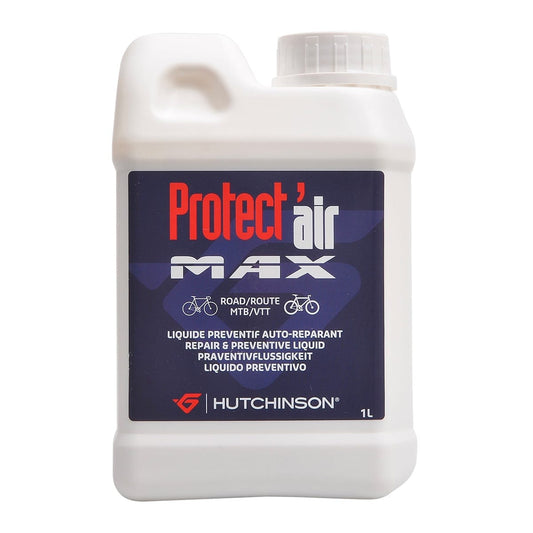
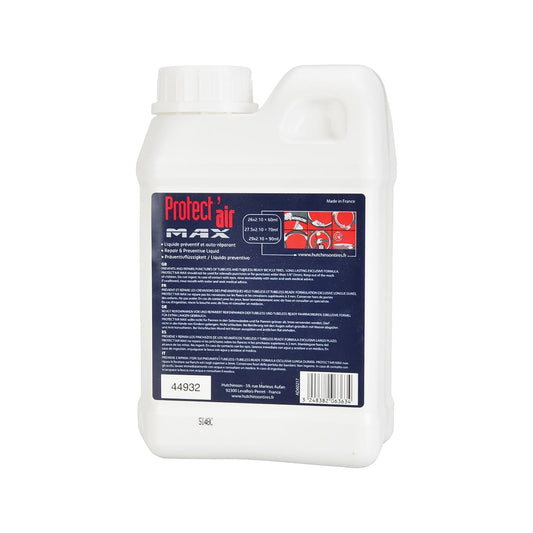
HUTCHINSON PROTECT'AIR 1 L Preventive Anti-Puncture Sealant
Regular price 21,99 €Regular priceUnit price per -
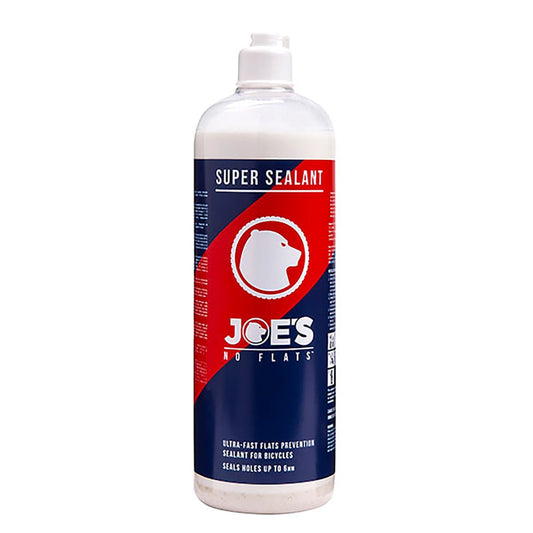
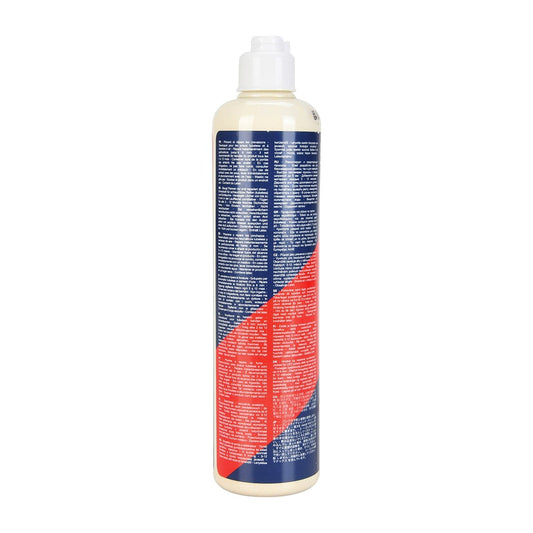
JOE'S NO-FLATS SUPER SEALANT Puncture Prevention Sealant (500 ml)
Regular price 11,99 €Regular priceUnit price per -
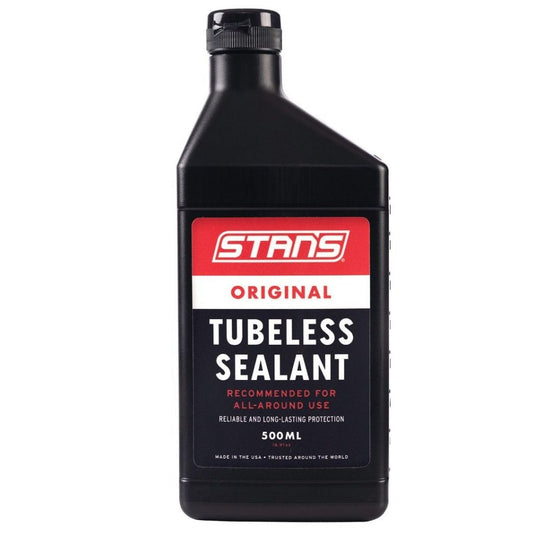
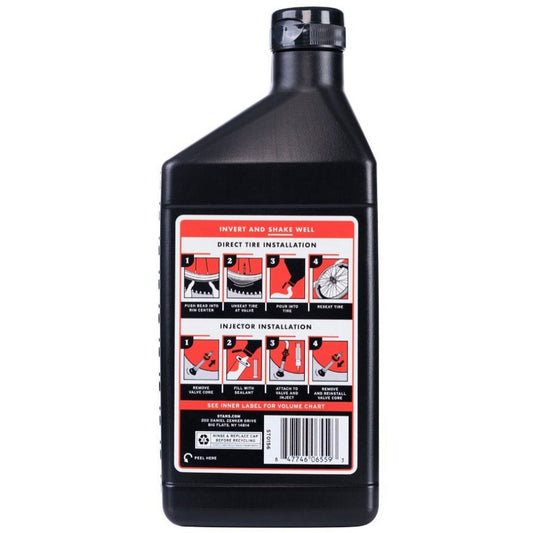
STAN'S THE SOLUTION Anti-Puncture Tubeless Sealant (500 ml)
Regular price 21,99 €Regular priceUnit price per -
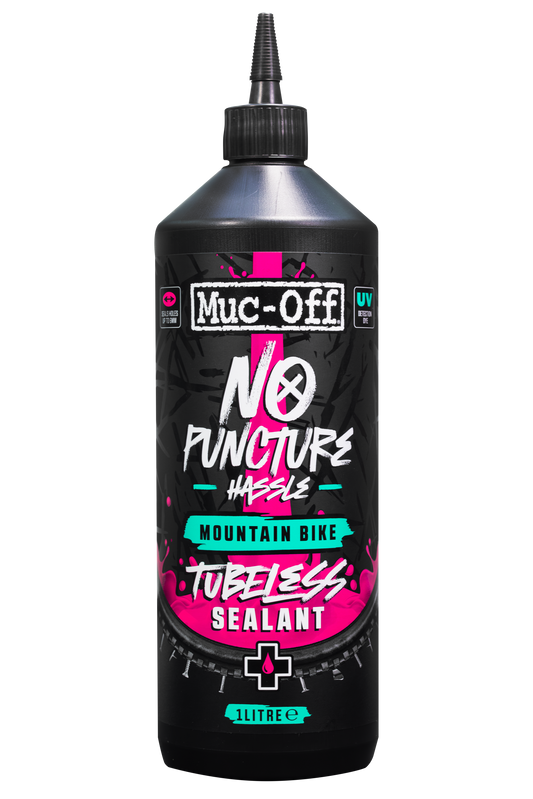
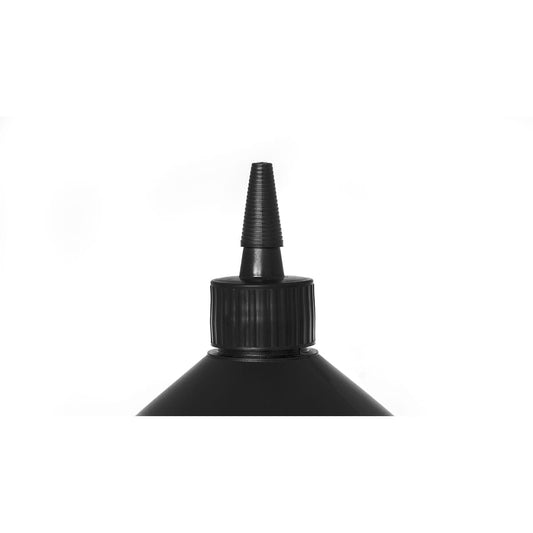
MUC OFF NO PUNCTURE Puncture Prevention and Tubeless Sealant (1L)
Regular price 34,99 €Regular priceUnit price per -
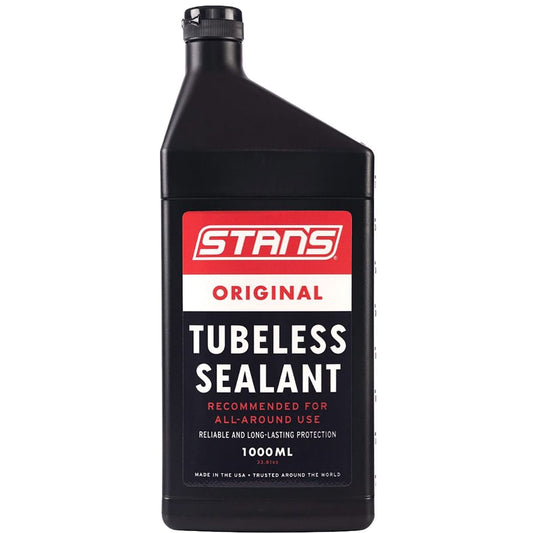
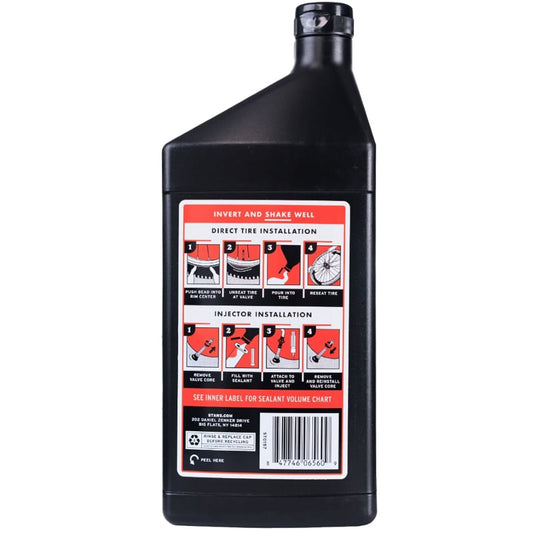
STAN'S THE SOLUTION Anti-Puncture Tubeless Sealant (1000 ml)
Regular price 34,99 €Regular priceUnit price per -

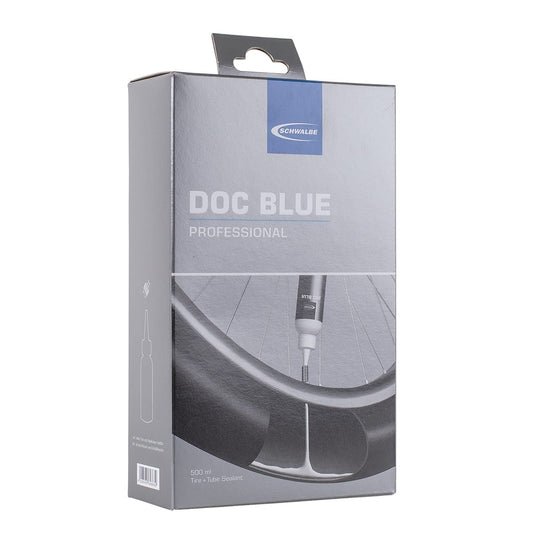
SCHWALBE DOC BLUE PROFESSIONAL Tubeless Sealant (500 ml)
Regular price 17,99 €Regular priceUnit price per


