You've just fitted your rear derailleurOr are your gears unstable? It's time to adjust your derailleur.
- Time: 40 min
- Level : Medium
- Tools : Allen key set | Phillips screwdriver | Flat-nose pliers
Steps
- Position the derailleur on the smallest sprocket, then release the derailleur cable
- Adjust the low speed stop (screw H - High Speed) so that the derailleur pulley is perfectly aligned with the outer surface of the smallest sprocket.
- Operate the derailleur by hand to bring it into line with the largest sprocket, in order to set the derailleur's high stop (L - Low Speed) so that it cannot go any further than this sprocket.
- Release the derailleur, then turn the cable tension knob all the way in before unscrewing it by 2 turns.
- Replace the derailleur cable, tensioning it slightly with the flat pliers.
- Place the transmission on the smallest chainring and the largest sprocket.
- Adjust the windup screw so as to obtain the distance between the pinion and the derailleur pulley recommended by the manufacturer (generally 5/6 mm).
- Finalize the adjustment with the cable tension knob until you obtain the best possible gearshift smoothness. If the gear doesn't go up, there's not enough tension; if it doesn't go down, there's too much.
Probikeshop tip: To facilitate final adjustment, lubricate your transmission.
The derailleur is now set. After a first ride, you may need to adjust the final setting with the knob.
Découvrez tous nos conseils & Tutoriels
Road - Rear Derailleurs
-

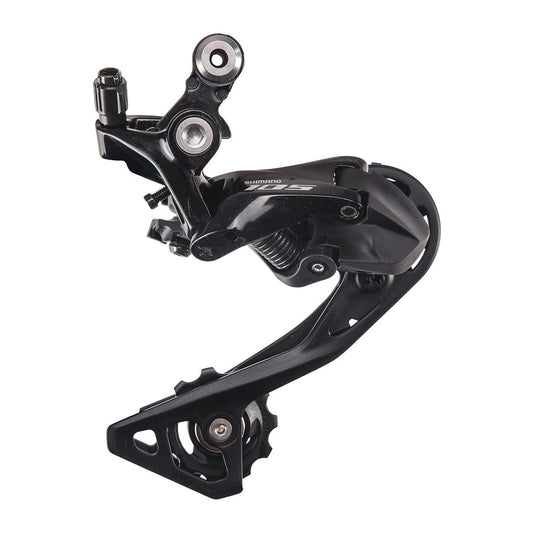
SHIMANO 105 R7000-GS 11 Speed Medium Cage Rear Derailleur Black
Regular price 44,99 €Regular priceUnit price per -
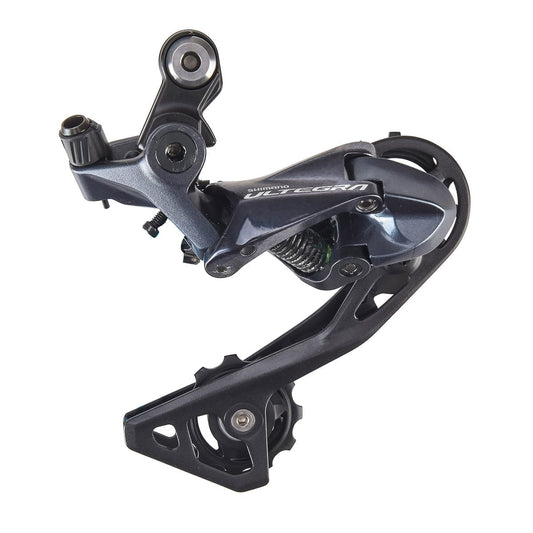
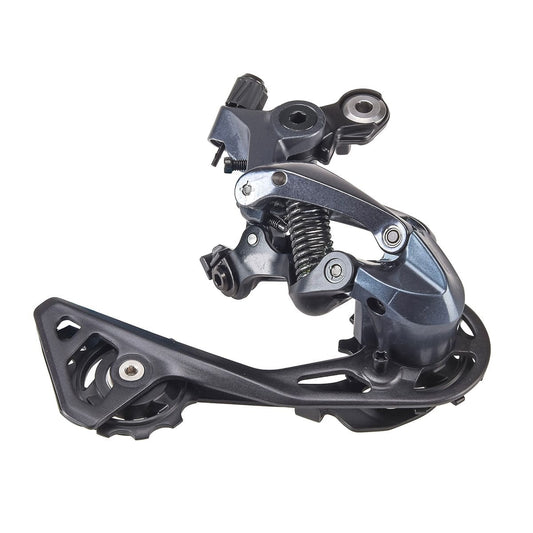
SHIMANO ULTEGRA R8000-GS 11 Speed Rear Derailleur Medium Cage
Regular price 79,99 €Regular priceUnit price per -
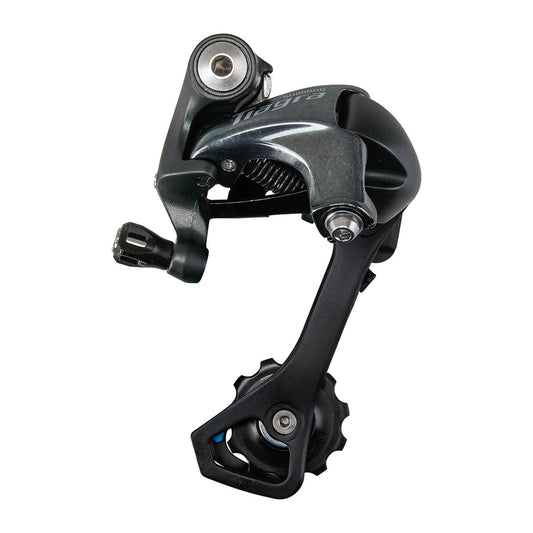
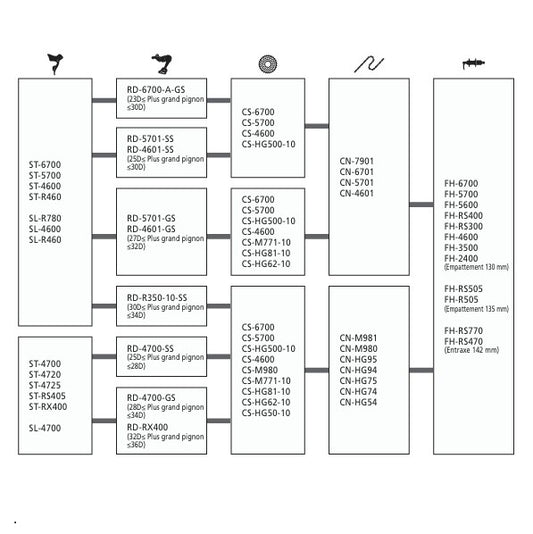
SHIMANO TIAGRA 4700-GS 10 Speed Rear Derailleur Medium Cage
Regular price 38,99 €Regular priceUnit price per -
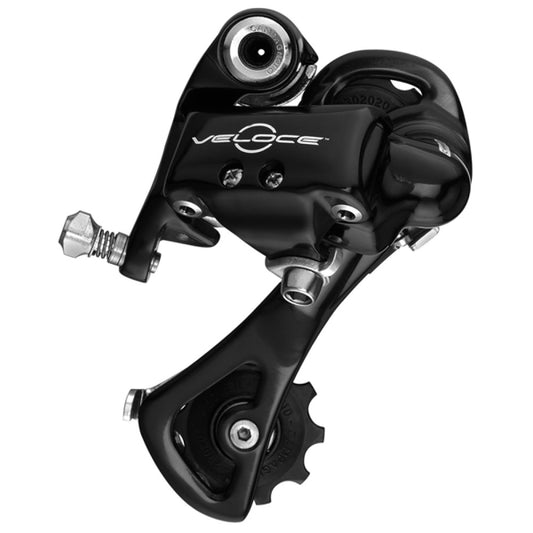
CAMPAGNOLO VELOCE 9/10V Rear Derailleur Medium Cage
Regular price 84,99 €Regular priceUnit price per -
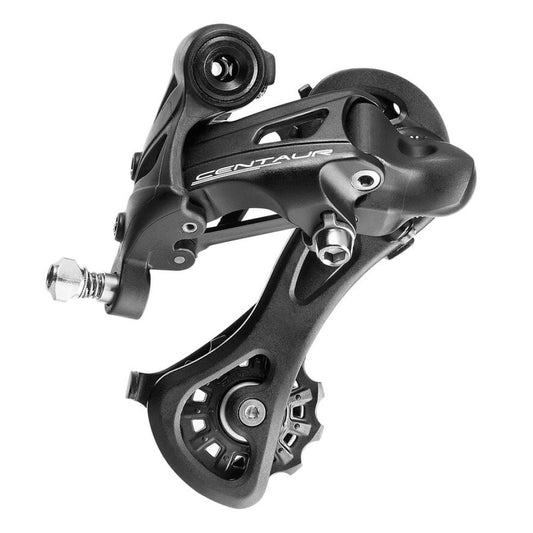
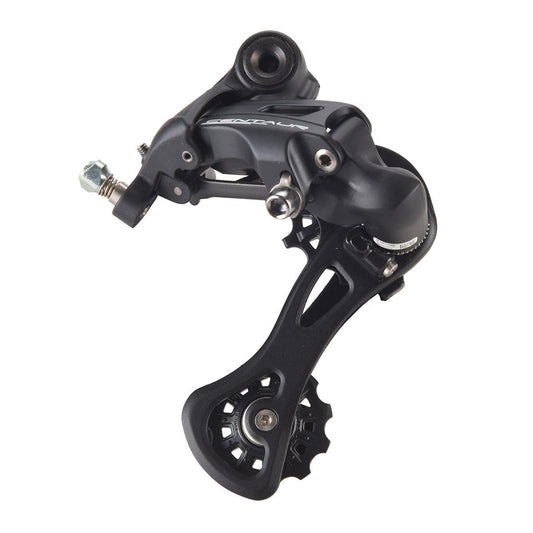
CAMPAGNOLO CENTAUR 11V Rear Derailleur Medium Cage
Regular price 69,99 €Regular priceUnit price per -
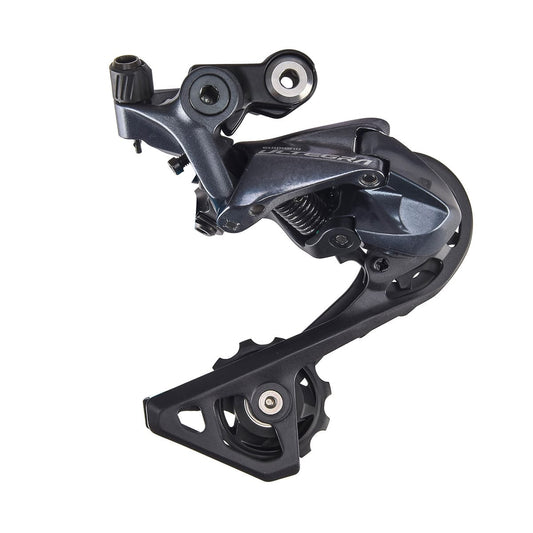
SHIMANO ULTEGRA R8000-SS 11 Speed Rear Derailleur Short Cage
Regular price 69,99 €Regular priceUnit price per -
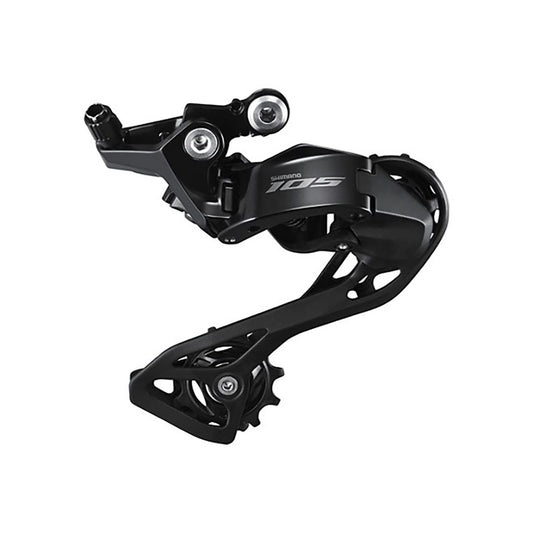
SHIMANO 105 R7100 12V rear derailleur
Regular price 32,99 €Regular priceUnit price per -
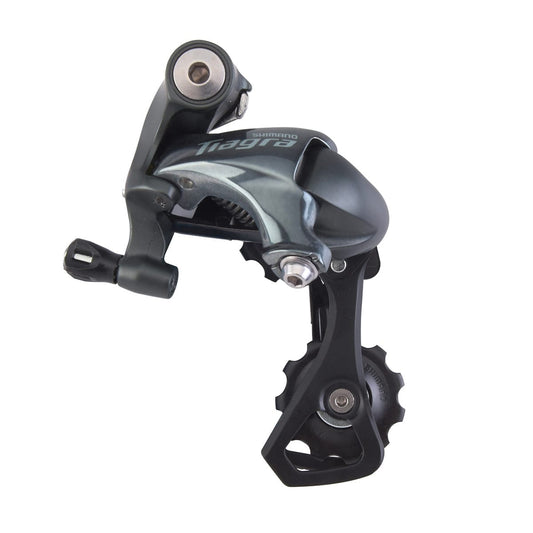
SHIMANO TIAGRA 4700-SS 10 Speed Rear Derailleur Short Cage
Regular price 38,99 €Regular priceUnit price per
