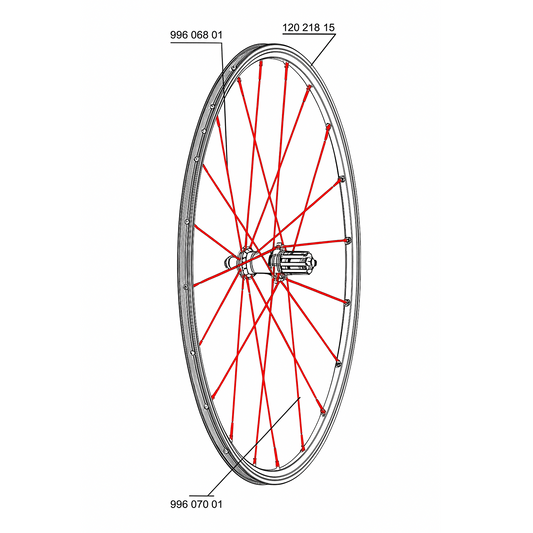
How to lace MTB wheels?
This delicate operation requires patience and meticulousness. Here are all the steps you need to take to spoke your mountain bike wheels for a successful assembly!
- Time : 3h00
- Level : Very difficult
- Tools : Spoke wrench | Flathead screwdriver | Wheel centring tool | Tensiometer
Steps
Place the MTB rim flat in front of you with the valve hole facing you, and mark the holes for the ply left and right spokes. Be careful: the first spoke is the one that will guide the rest of the assembly, so it's vital to place it correctly.
- Place the first spoke in the flange of the MTB hub hub flange from the outside inwards (so the head is on the outside).
- Place the spoke in the rim in the first hole to the left of the valve, then screw a spoke nut a few turns to hold it in place. Make sure this hole is well drilled in the rim on the side where the spoke arrives.
- Place the second spoke in the flange one hole to the right of the first, always from the outside in.
- Place the second spoke in the rim three holes to the right of the first, still with the nipple screwed on a few turns; then repeat operations 3 and 4 to complete the first spoke.
- Turn the wheel over to complete the second layer on the other side.
- Place the first spoke of the second ply in the hub flange in the first hole to the right of the first spoke of the first ply, still working from the outside in.
- Place the spoke in the rim in the first hole to the right of the first spoke of the first ply.
- Repeat steps 3 and 4 to complete the second layer.
- Keep the wheel with the second ply on your side, then to fit the hub, hold the rim and rotate the hub clockwise.
- Turn the wheel so that the first layer is on your side.
- Place a spoke in the flange, but this time from the inside out (so the head is on the inside).
- Tilt it to the left, passing in sequence over two spokes of the same pattern, then under a spoke of the same pattern.
- Then place this spoke in the rim in the first free hole to the left of the third crossed spoke.
- Repeat steps 11 and 12 to complete the third spoke pattern and thus this side of the wheel.
- Turn the wheel upside down and repeat steps 11 and 12 to complete the fourth spoke pattern.
- Start tensioning the spokes evenly, making sure the rim is centered on the frame. All that's left to do is uncover the MTB wheels to complete the assembly.
You can now mount the wheel on your MTB. After your first ride, check that the sail and tension are still correct.
Découvrez tous nos conseils & Tutoriels
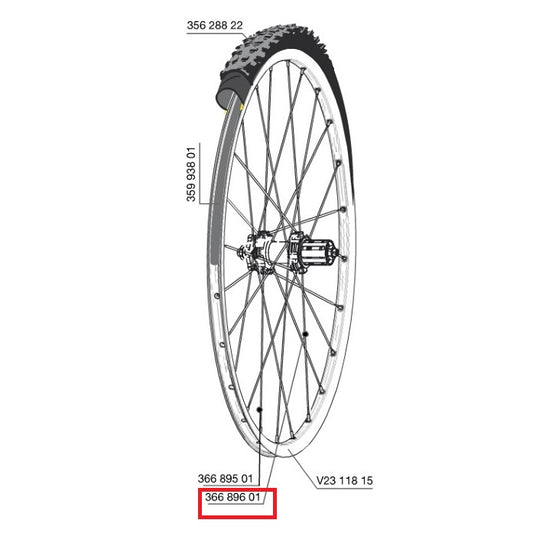
MTB - Spokes
-
Kit of 12 MAVIC CROSSMAX SL/SLS/XL/XLS 29" 298mm M7/7 Front/Rear spokes
Regular price 34,99 €Regular priceUnit price per -
Kit of 12 MAVIC CROSSMAX PRO CARBON 29" 291mm Front/Rear spokes
Regular price 29,99 €Regular priceUnit price per -
Kit of 12 MAVIC CROSSONE/CROSSMAX/XA 29" AKSIUM DISC 9/12mm FT/AKSIUM ALLROAD 296mm Front/Rear spokes
Regular price 14,99 €Regular priceUnit price per -
MAVIC CROSSONE/CROSSRIDE FTS-X/CROSSMAX/XA 27.5" 276mm Rear 12-Spoke Kit
Regular price 14,99 €Regular priceUnit price per -
Kit 12 Front/Rear Spokes MAVIC CROSSMAX PRO CARBON S/SLR/XLR - SL ULTIMATE 29" 293mm
Regular price 32,99 €Regular priceUnit price per -
Kit of 12 MAVIC CROSSONE/CROSSMAX/XA 27.5" 278mm Front/Rear spokes
Regular price 14,99 €Regular priceUnit price per -
Kit of 12 Rear Spokes MAVIC CROSSROC/CROSSRIDE UST/CROSSMAX ELITE/XA ELITE 29" KSYRIUM UST Disc/AKSIUM UST Disc 293mm
Regular price 14,99 €Regular priceUnit price per -
Kit 10 MAVIC CROSSRIDE UB 276mm rear spokes
Regular price 14,99 €Regular priceUnit price per


