What pressure for my bike tyres?

The bike's tyres are its only points of contact with the ground. Pressure adjustment is therefore an essential matter, especially for off-road disciplines (MTB, Gravel), as tyre behaviour directly influences that of the bike. Between comfort, efficiency and road holding, it is important to adjust the pressure to find the best balance on the terrain, according to your expectations and your discipline.
Probikeshop advises you on inflating your bike tyres to the right pressure, specifying the specific constraints of the main cycling disciplines (MTB, Gravel, Road, Urban/Hybrid).
What pressure for my MTB tyres?
On a non-assisted or electric mountain bike, tyre pressure adjustment is a fundamental topic. Properly inflated MTB tyres offer the best compromise between comfort, traction and grip. Conversely, poorly inflated MTB tyres significantly impair the handling and efficiency of the bike, however capable it may otherwise be.
MTB tyre pressure settings: all the criteria to consider
- The rider's weight;
- The terrain (dry, hardpack, rocky, muddy…);
- The type of mounting (tube-type or tubeless);
- The rim and tyre profile (rim width, tyre width, aggressive knobs, reinforced casing);
- The type of MTB (non-assisted or electric);
- The rider's level (aggressive or leisure).
MTB tyre pressure settings: key takeaways
- Always follow the manufacturer's recommendations on minimum/maximum pressure;
- The heavier the rider, the more the pressure must be increased;
- The greater the volume/diameter of the tyre, the less pressure is needed;
- Tubeless mounting (without inner tube) allows riding at lower pressure (no risk of "snakebite" - or pinch flat);
- If the tyre casing is reinforced (stiffer), it can roll better at lower pressure;
- Allow 0.1 or 0.2 bar more in the rear tyre compared to the front tyre;
- Compared to a non-assisted MTB (same rider, same discipline), an electric MTB requires higher pressure.
MTB tyre pressure settings: finding the right adjustment
Beyond these key principles, there is no formal MTB pressure guide that covers all profiles and all disciplines. You will no doubt find specific advice on the websites of the tyre manufacturers you are interested in, but the values given are always indicative. Adjusting MTB tyre pressure remains an individual process, which leaves plenty of room for personal feel on the terrain.
A good starting point is to define a base pressure, for example 2 bars at the rear and 1.8 bar at the front. This initial setting is revised upwards if the rider is heavier than average, if the tyre section is less than 2.2", if the terrain is fairly smooth, or if you ride an e-MTB. Conversely, it is possible to lower the pressure if the rider is light, if the tyre is voluminous, if its casing is stiff or if it is mounted tubeless.
This initial "theoretical" setting then faces the real-world test. On a test ride that matches your usual riding conditions, you need to assess the bike's behaviour. The idea is to find the best compromise between comfort, efficiency and control, avoiding above all the problems of under-inflation (a "vague" feeling on support) and over-inflation (a bike that bounces over obstacles). Ideally use a precision pressure gauge and make a note of the pressures retained after the test.
Here are some examples of MTB tyre pressures, to help you find your own reference points:
- 29" x 2.2" tyres - Tubeless fitting - 74 kg rider: front / rear pressure 1.6 bar / 1.8 bar;
- 29" x 2.6" tyres - Tubeless fitting - 105 kg e-MTB rider: front / rear pressure 1.9 bar / 2.1 bars;
- 27.5" x 2.0" tyres - Inner tube fitting - 100 kg rider: front / rear pressure 2.4 bars / 2.7 bars.
What pressure for my Gravel tyres?
Gravel is a hybrid discipline halfway between mountain biking and road cycling, close to cyclo-cross. A gravel bike rides on various terrains, with smooth roads and tracks alternating with rough surfaces (rocky, forest roots) or loose ones (gravel), as well as soft and muddy ground in wet conditions.
The characteristics of gravel tyres largely determine the bike's capabilities on off-road terrain. Choosing a type of tyre suited to your discipline, with a more or less aggressive profile and knobs, is a first step. The second step is to inflate those tyres to the correct pressure.
Riding most of the time on tracks or singletrack, gravel tyres are wider than road bike tyres (up to 50 mm in section, or even beyond for 650 formats). They most often allow tubeless mounting (without inner tube). Compared to road tyres, gravel tyres are inflated to lower pressures, which benefits both comfort, grip and traction.
Gravel tyre pressure settings: the criteria to consider
Here we find the fundamental criteria for inflating bike tyres:
- The rider's weight (do not forget the weight of the bags in bikepacking configuration);
- The terrain (hard, hardpack, loose, soft, wet, muddy, gravel, rocky…);
- The type of mounting (tube-type or tubeless);
- The tyre profile (tyre width, knobs).
Properly inflating your Gravel bike tyres
To properly inflate your gravel tyres, a few key principles are worth bearing in mind:
- Always follow the manufacturer's recommendations on minimum/maximum pressure;
- The greater the weight of the cyclist (and any load), the more the pressure can be reduced;
- The wider or more voluminous the tyre, the lower the pressure needed;
- A tubeless fitting (without inner tube) allows riding at lower pressure – you can count on approximately 0.5 bar more for a tube-type fitting (with inner tube);
- Always put slightly more pressure in the rear (approximately 0.5 bar difference compared to the front).
Optimal inflation allows you to ride your gravel bike with confidence, riding comfortably for several hours on different surfaces, without being battered or bruised on rough sections. In the absence of suspension, gravel tyres act as a natural shock absorber: they must absorb ground movement as well as possible. Over-inflation can be disastrous on difficult trails, where you will feel every jolt from the terrain. Also avoid under-inflation, as you will lose efficiency and increase the risk of puncturing or hitting the rim.
On gravel, the idea is to find a good balance between comfort and efficiency. You can base yourself on a mid-range pressure within the manufacturer's recommended range, which you will adjust according to your weight and the terrain ahead. You will increase the pressure if the route is fairly smooth (+0.5 bar approximately relative to the starting average value), and decrease it if the terrain is tricky, rough or wet (-0.5 bar). These pressures set at the start should evolve if the on-terrain test is not conclusive.
For gravel tyres, finding the right pressure is a matter of compromise, especially if your ride is not dominated by one particular type of terrain (hard smooth ground / muddy path / rough terrain…). But if your discipline is clearly defined, here are some base pressures (to be fine-tuned according to your weight and tyre width) that will help you find the right setting:
- Gravel on hard/smooth terrain: between 3.5 and 5 bars (tubeless fitting);
- Gravel on muddy ground: from 2 bars (tubeless).
What pressure for my road bike tyres?
On a road bike, the question of tyre pressure is primarily associated with the idea of speed, but comfort and grip must certainly not be neglected. For several years now, the trend has been towards wider sections (25, 28, 30 mm), which provide more comfort without reducing efficiency.
The widespread adoption of 25 and 28 mm road bike tyres has led to a rethink of inflation habits. Nowadays, riders use lower pressures and avoid pumping tyres up to their maximum. Wider tyres and lower pressures give a definite advantage in terms of comfort, especially when riding for several hours on degraded roads.
All the criteria for properly inflating road bike tyres
- The weight of the cyclist;
- The tyre width;
- The cyclist's discipline (leisure, competition);
- The type of mounting (tube-type, tubeless, tubular);
- The quality of the tyre (endurance, competition);
- Road conditions (dry road, wet road);
- A special case: riding on cobbled sections.
How to properly inflate your road bike tyres?
The same principle always applies: finding the right pressure is an individual matter, which depends on your profile, your discipline, your equipment and your personal feel. A cyclist of standard build (around 75 kg) can use the "10% theory" (dividing weight by 10) to find a good base pressure (7.5 bars). A lighter or heavier build than average can adapt this base pressure between 7 and 8 bars. "Extreme" builds must always take care not to exceed the min/max pressures indicated on the tyre sidewall. It is up to you to adjust this base pressure according to the terrain (perfect or degraded road), the duration or theme of your ride (long comfort ride, fast performance-oriented ride).
The type of tyre also has an impact on pressure. A "competition" tyre always accepts higher pressures than training tyres (or "endurance" tyres). If we consider a "tube-type" mounting as a reference (tyre with inner tube), a "tubeless" mounting (without inner tube) allows riding at lower pressures (approximately -1 bar compared to tube-type), while tubulars allow higher pressures (approximately +1 bar compared to tube-type).
Riding on wet roads calls for lowering your usual road bike tyre pressure (approximately -1 bar). There is one particular case: the recommended pressure for riding on cobbled sections. On cobblestones, you need well-suited tyres with a significant section (28, 30, 32 mm), which can handle low pressures (between 4 and 6 bars), to secure grip and improve comfort.
What pressure for my urban and all-terrain bike tyres?
In the city and/or on paths, comfort is generally what you are looking for. Urban bikes and trekking bikes are most often fitted with front suspension, but tyres also have a role to play in absorbing surface irregularities. City bike, hybrid bike and touring bike tyres are generally wide and fairly voluminous, so they accept fairly low pressures.
The criteria to consider for properly inflating city/trekking/hybrid bike tyres
- The weight of the cyclist and the weight of the load (panniers, child seat);
- The width/volume of the tyres;
- The route: road, path, mixed;
- Weather conditions: dry or wet surface, extreme cold;
- The type of city/touring bike: non-assisted or electric.
How to properly inflate urban and trekking bike tyres?
First of all, it is important to respect the min/max pressure range authorised by the manufacturer (information marked on the tyre sidewall). Then, the main standard criteria should be examined: the weight supported by the bike (rider and load), the tyre profile (width, volume) and the nature of the route (road and cycle path, dirt track and/or gravel, mixed road/path terrain). Based on this data, you can adjust the pressure within the authorised range.
You will always inflate more if you ride an e-bike, or if you ride exclusively on roads and cycle paths. You will put more pressure in the rear tyre if the rack is occupied by a child seat or loaded with fully packed panniers.
Balloon tyres are often found on electric city bikes, which have a particularly large volume (over 50 mm in section). This type of tyre is designed to run at low pressures, around 4 bars.
As always, trust your sensations: if your tyres are over-inflated, you will feel every bump in the road or path, and your journey will quickly become uncomfortable. Conversely, with under-inflated tyres, the bike will lack speed, manoeuvrability and responsiveness – and you will feel a negative impact on battery charge in the case of an e-bike. Do not forget to release a little pressure before riding in the rain (-0.5 to -1 bar), to maintain a good level of grip.
FAMILY - BIKE PUMP
-

ZEFAL Threaded CO2 Cartridges (x6)
Regular price 11,99 €Regular priceUnit price per -
ROCKSHOX High Pressure Suspension Pump (300 PSI Max)
Regular price 27,99 €Regular priceUnit price per -
ZEFAL Threaded CO2 Cartridge (x2)
Regular price From 3,99 €Regular priceUnit price per -
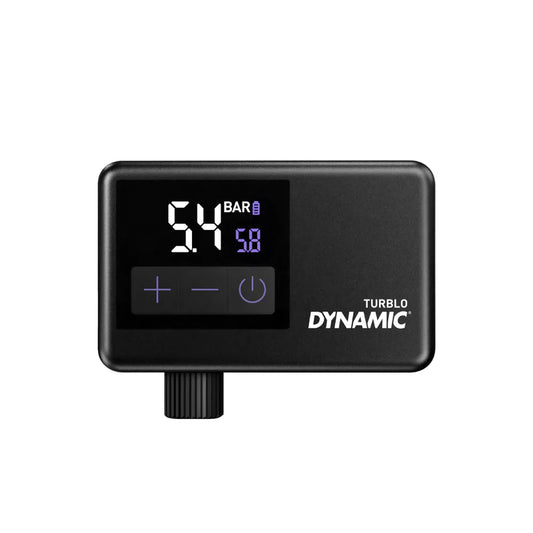
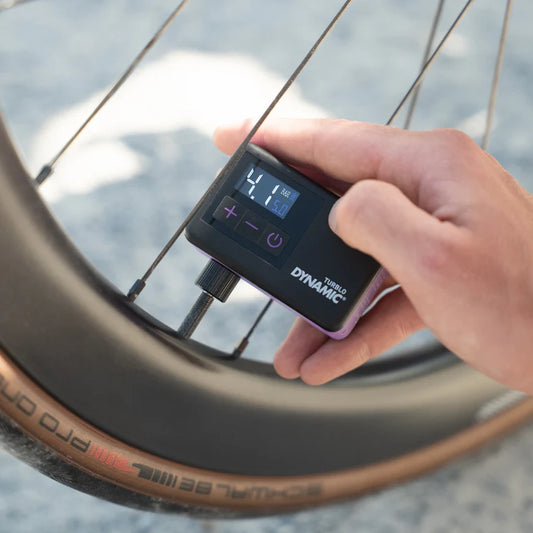
DYNAMIC TURBLO Electric Pump
Regular price 69,99 €Regular priceUnit price per -
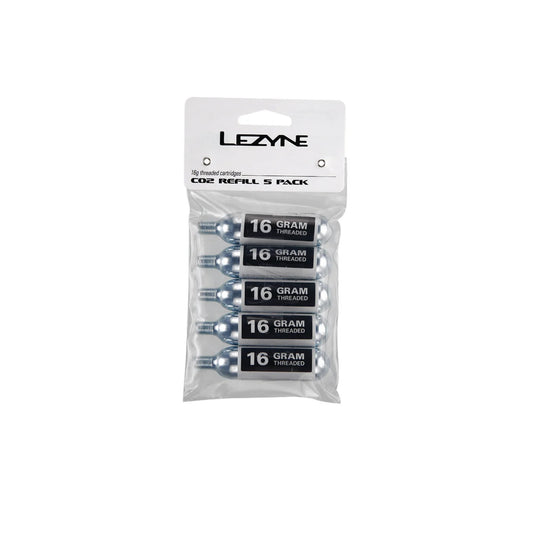
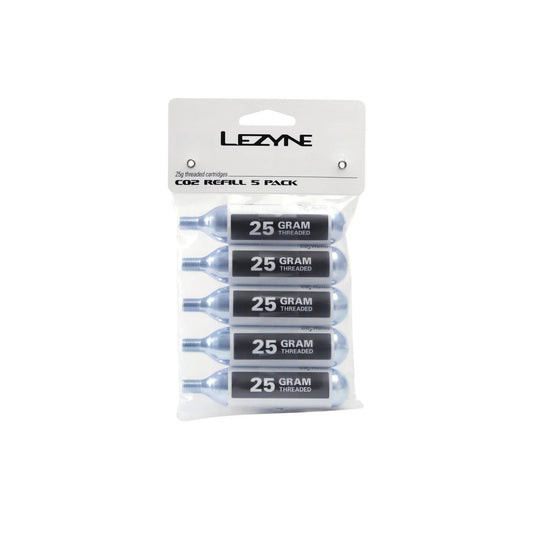
LEZYNE Threaded CO2 Cartridge (x5)
Regular price From 14,99 €Regular priceUnit price per -
SKS GERMANY AIRCHECKER Digital Pressure Gauge
Regular price 22,99 €Regular priceUnit price per


