How to adjust your MTB rear derailleur?

Are your rear gears unstable or have you just fitted your new derailleur? It is time to adjust it! Here is a video to help you carry out this operation on your mountain bike, which requires a little precision.
- Time: 20 min
- Level: Intermediate
- Tools: Allen key set | Flat-nose pliers | Phillips screwdriver
Steps
- Place the chain on the smallest sprocket, then release the derailleur cable.
- Adjust the low limit screw (High) so that the alignment a is perfect between the derailleur jockey wheel and the outer surface of the smallest sprocket.
- Operate the derailleur by hand to adjust the high limit screw (Low) of the derailleur so as to align it with the largest sprocket.
- Fully screw in the barrel adjuster at the shifter, then unscrew it by 2 turns.
- Refit the derailleur cable in its housing, pulling it slightly taut with the flat-nose pliers.
- Place the drivetrain on the smallest chainring and the largest sprocket.
- Adjust the B-tension screw so as to achieve the distance between the sprocket and the derailleur jockey wheel recommended by the manufacturer (generally 5 or 6 mm).
- Run through all the gears to check that shifting occurs smoothly.
- Complete the adjustment with the barrel adjuster at the shifter until you achieve the best possible smoothness of gear changes.
Probikeshop tip: to make the final adjustment easier, lubricate your MTB drivetrain.
Your MTB rear derailleur is now adjusted. After your first ride, you may need to fine-tune the adjustment with the barrel adjuster.
Découvrez tous nos conseils & Tutoriels
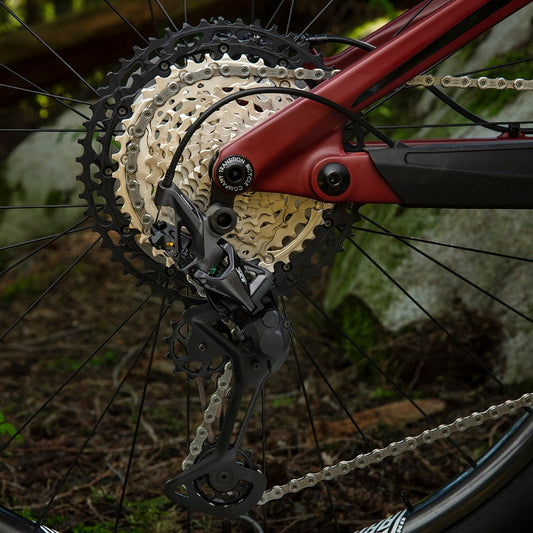
MTB - Rear Derailleurs
-

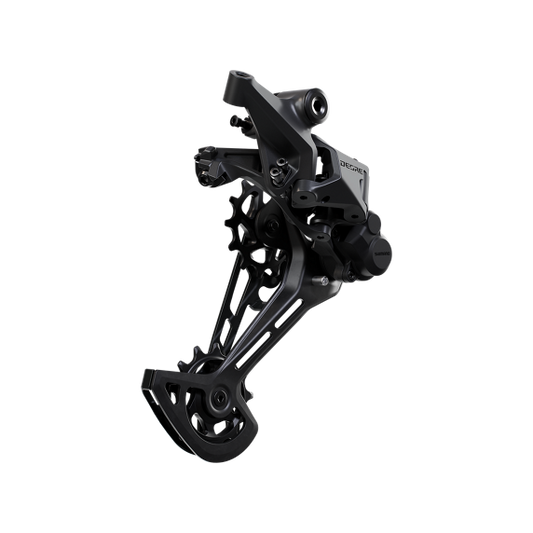
SHIMANO DEORE RD-M6200-SGS 12-Speed Long Cage Rear Derailleur *
Regular price 59,99 €Regular priceUnit price per -

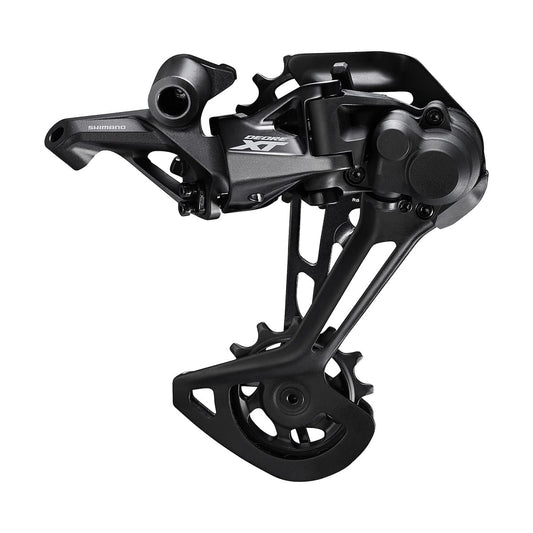
SHIMANO DEORE XT RD-M8200-SGS 12-Speed Long Cage Rear Derailleur *
Regular price 89,99 €Regular priceUnit price per -
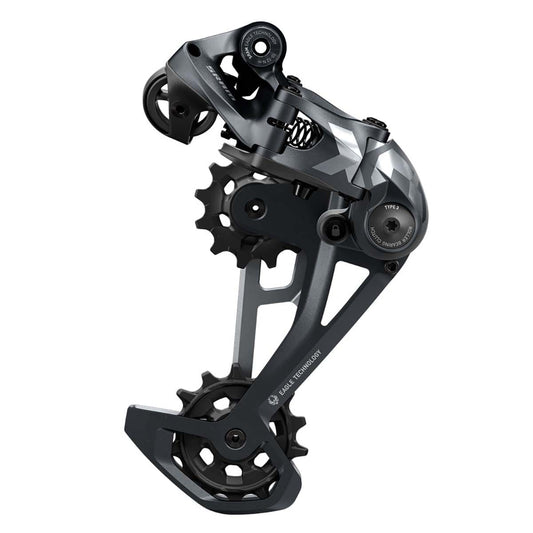
SRAM X01 EAGLE 12-Speed Rear Derailleur Lunar
Regular price 159,90 €Regular priceUnit price per -
SHIMANO DEORE XT RD-M8100-SGS 12-Speed Long Cage Rear Derailleur
Regular price 69,99 €Regular priceUnit price per -
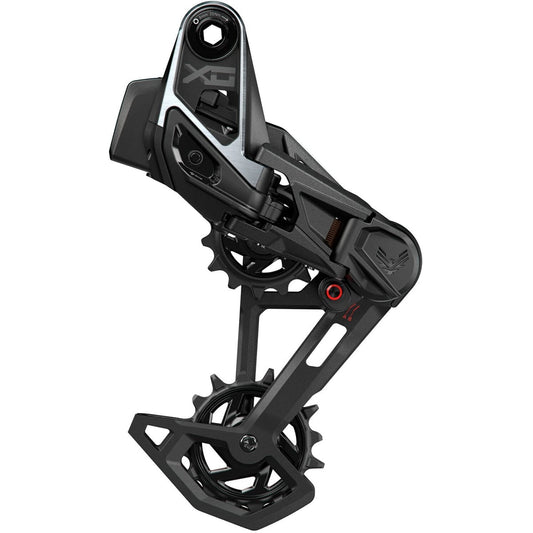
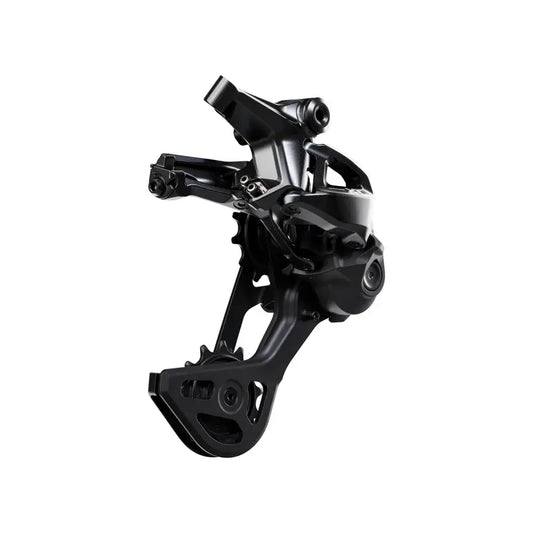
SRAM X0 T-TYPE EAGLE AXS 12V Rear Derailleur
Regular price 439,90 €Regular priceUnit price per -

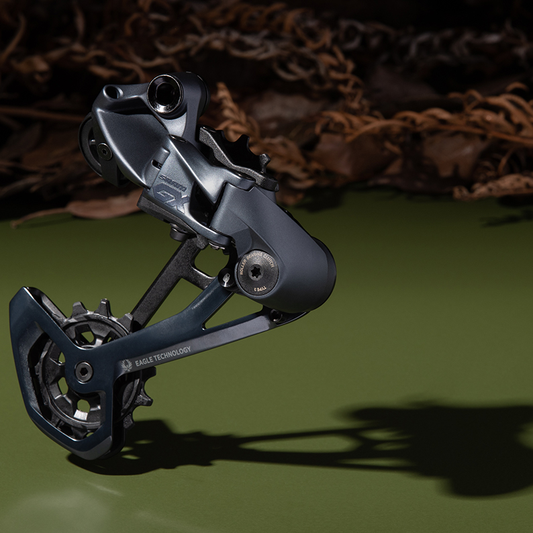
SRAM GX EAGLE 12-Speed Rear Derailleur Lunar
Regular price 94,99 €Regular priceUnit price per -

SHIMANO DEORE RD-M6100-SGS 12-Speed Rear Derailleur Long Cage
Regular price 36,99 €Regular priceUnit price per -

SHIMANO DEORE RD-M5100-SGS 11-Speed Long Cage Rear Derailleur
Regular price 22,99 €Regular priceUnit price per


