What is Bikepacking?
Coming directly from the United States and now flooding Europe, Bikepacking is a simple way of traveling, with a minimum of luggage and, above all, without a luggage rack. Minimalism in its purest form, as you set out to discover nature.
In this spirit, equipment brands have developed ranges of panniers for attachment to handlebars, frames or seatpost for travel over one or more days.
The first advantage of this practice is that these panniers can be used on all types of bicycle, such as a semi-rigid mountain bikea full-suspension mountain bikea road bikea Gravel or Fatbike, in aluminum or carbon. And once again, no need for a luggage rack.
The second advantage is that it distributes the load more evenly over the entire length of the bike. Stability is thus enhanced for longer, more enjoyable rides. With Bikepacking, you can ride independently, freer and lighter.
The different types of panniers
The basic principle behind Bikepacking is to make the most of the bike's various tubes, while minimizing the impact on stability, handling and lightness. Each range therefore generally comprises models for the handlebarstop tube, front triangle and rear triangle. seatpost, with different volumes to suit your needs, bike type and geometry.
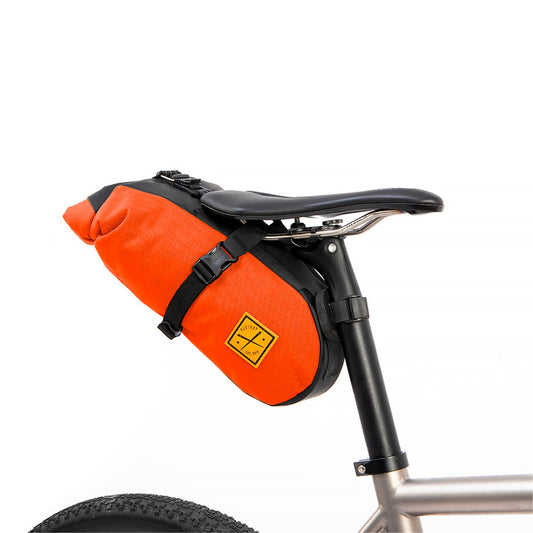
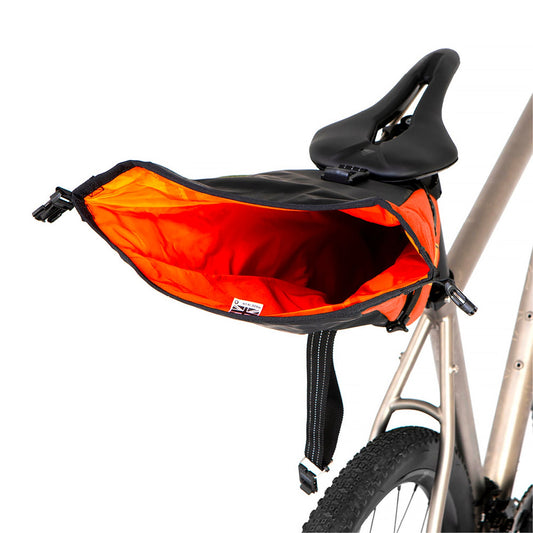
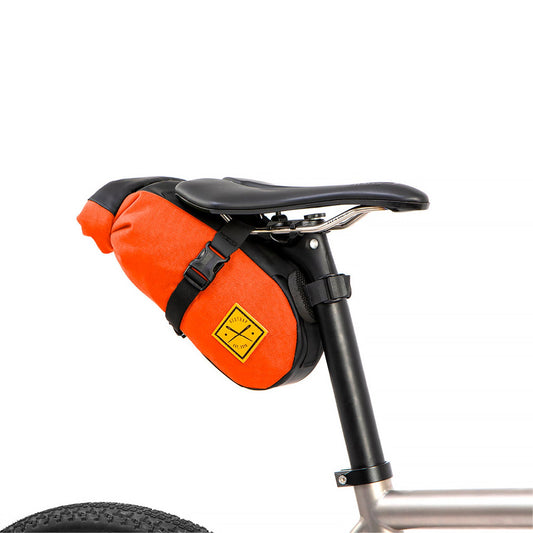
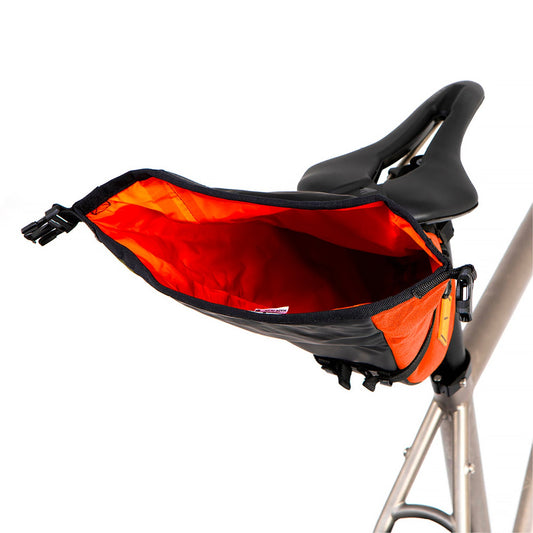
Seatpost-mounted panniers
Minimalist, high-volume saddlebags attach directly to the seatpost and rails with Velcros or buckles. The internal pocket is surrounded by compression straps for quick access to evening items such as a sleeping bag or clothing. We recommend using a pannier with a high attachment for telescopic seatposts, to keep the seatpost from sagging and protect the diver. Remember to check that the pannier does not touch the tire during compression on an all-suspension mountain bike.
Frame-mounted panniers
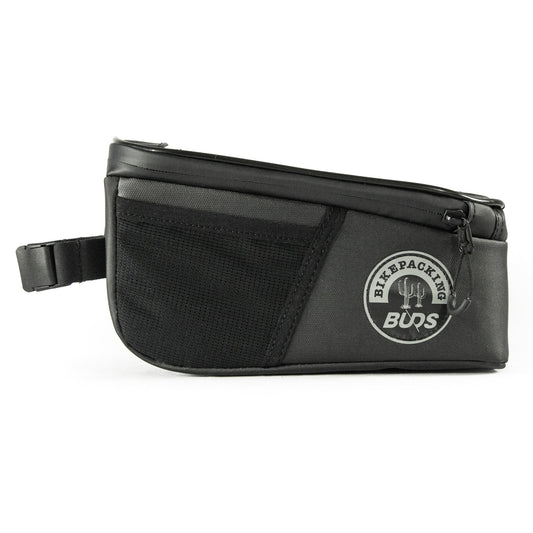
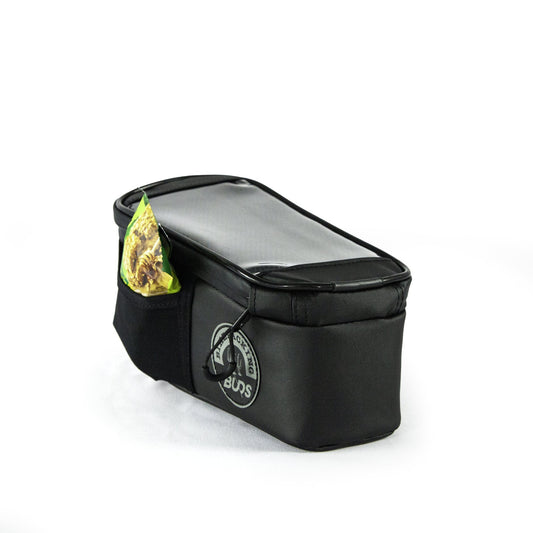
On the top tube
These little saddlebags are ideal for keeping small items close at hand, so you can view and navigate using your phone's GPS, or simply slip in your keys or wallet. They feature Velcro-type straps or simple buckles for installation on the tube and stem.
On the horizontal tube
This type of pannier attaches to the underside of the horizontal tube, with a fairly large volume of around 3-4 liters. You can slip on clothes or other common items such as tools, for quick access to contents.
On the complete frame triangle
This pannier, with a volume of over 4 liters, takes up the entire space of the front triangle by attaching to the 3 tubes. Highly stable, it ensures ideal positioning for weight distribution and center of gravity, making it ideal for loading heavier items such as tools or bike accessories. It should be noted, however, that this type of pannier generally makes bottle cage attachments inaccessible. We advise you to check frame compatibility by measuring length and diameter.
Handlebar-mounted panniers
Often with a large volume, they can be used to carry bulky equipment such as tents, comforters or stoves. They feature offset fasteners to prevent crushing of girdles, and straps around the inner pocket for quick and easy access. Different sizes are available, so check the length of your hanger before ordering.
Choosing the right lighting
Do you prefer Lux, Lumen or Candela? Beyond the simple safety system, it's important to know all the characteristics of the different types of lighting. lighting to select the products best suited to your bikepacking needs. To find out all you need to know about lighting and select the right product, take a look at our tips.
Prepare your bike itinerary
Planning your next trip is the first step towards adventure. Whether you're out for a few days or a long bike trip, the GPS is one of the essential tools for knowing where to put your wheels. Start planning your next bikepacking trip now. Just follow the guide!
Are you new to bikepacking?
Does bikepacking appeal to you, but you're not sure how to get started or what kind of equipment to take along?
Here's our advice:
It's important to know your level before setting off on your adventure. If you're a beginner, you can set off over several days, opting for simple, short routes and limiting the difference in altitude.
To begin with, you can start with a 2 to 3-day trip, on a Gravel bike for example, where you can ride on 50% main roads and 50% dirt roads, with around 50 kilometers per day and a maximum ascent of 900 m. This will enable you to have fun and enjoy yourself. This will allow you to have fun and get used to the taste of adventure.
Equipment for a 2/3-day tour
- Light tent
- Ultralight inflatable mattress
- A light sleeping bag and sheet if temperatures are low
- Lightweight stove and cutlery
- Freeze-dried or dry food
- Toiletries and medical kit
- Light clothing for the evening (technical products that dry quickly)
- Lightweight Gore-Tex jacket
- Good lighting
- GPS or map
- Solar charger or external battery
- Repair tools for your bike
- Water, lots of water!
Découvrez tous nos conseils & Tutoriels
ACCESSORIES - Bikepacking
-
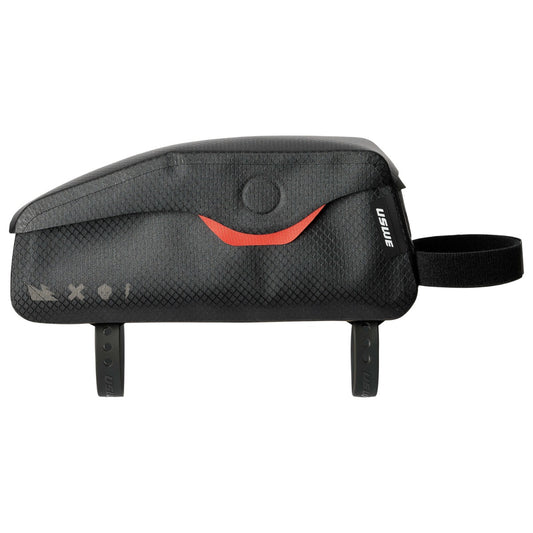
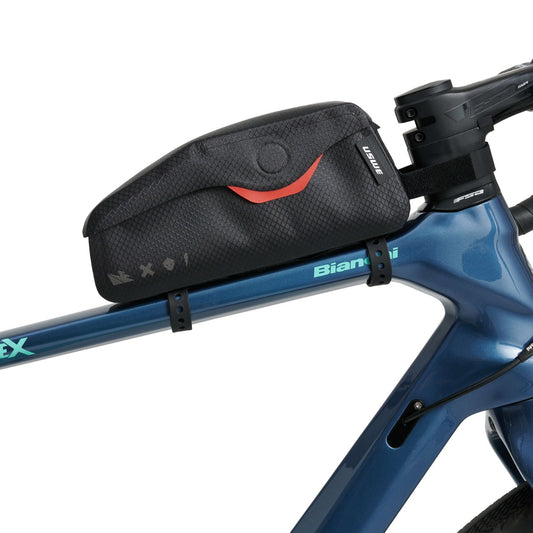
Frame Bag USWE TOP TUBE MAGNETIC 1.2 L Black
Regular price 39,99 €Regular priceUnit price per -
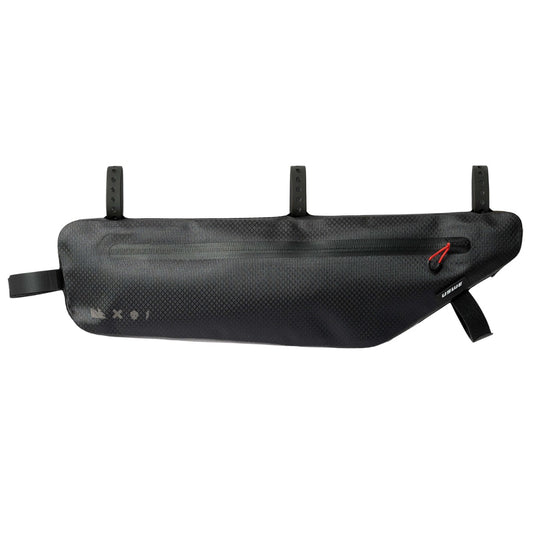
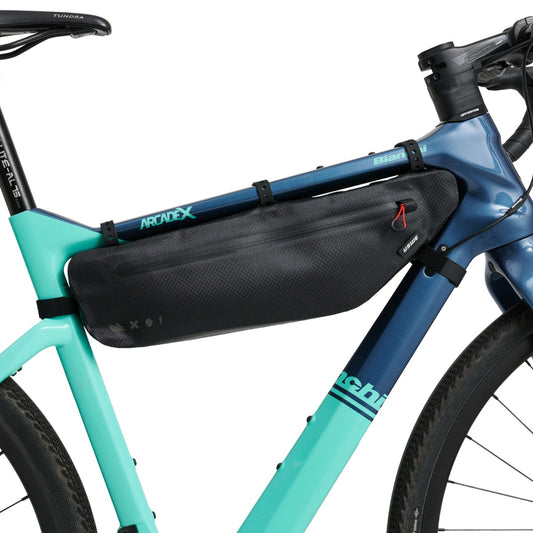
USWE FRAME TUBE LARGE 3.4 L Frame Bag Black
Regular price 59,99 €Regular priceUnit price per -
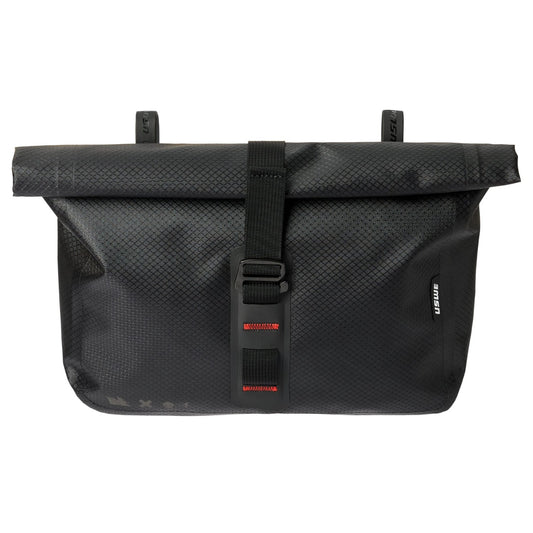
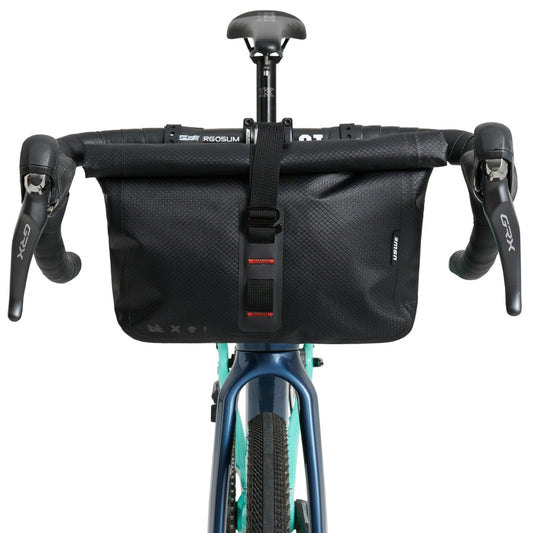
Handlebar bag USWE ACCESSORY BAG 3.5 L Black
Regular price 39,99 €Regular priceUnit price per -
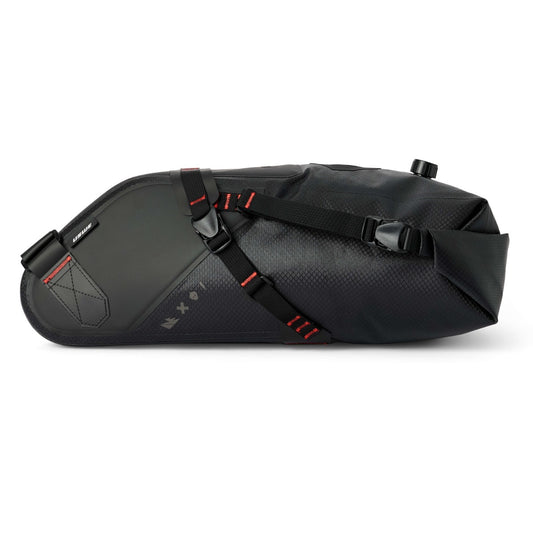
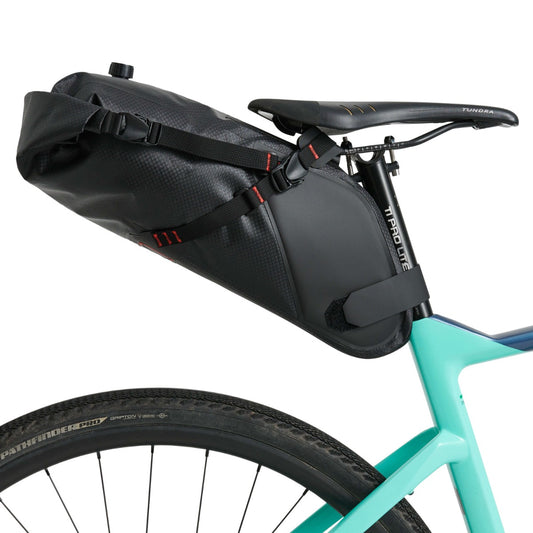
USWE ROLLTOP SADDLE BAG 9 L Black
Regular price 73,99 €Regular priceUnit price per -
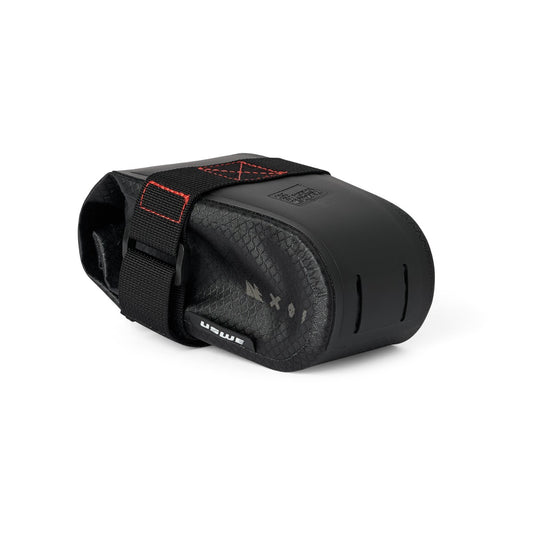
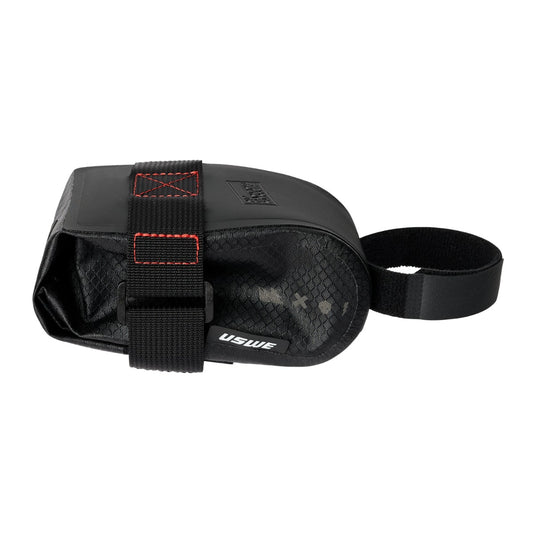
USWE TOOL SADDLE BAG 0.6 L Black
Regular price 19,99 €Regular priceUnit price per


