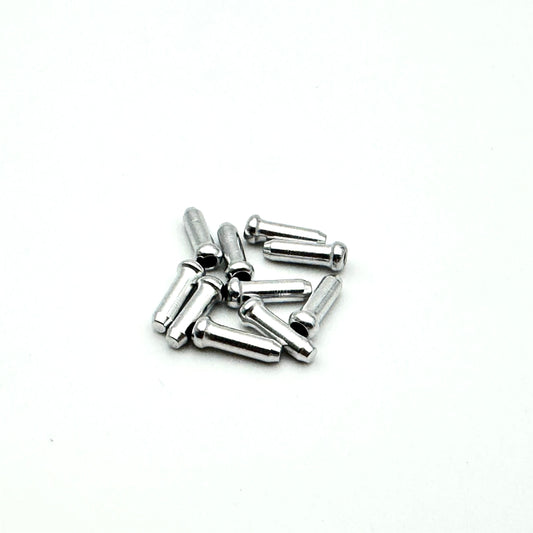
We recommend changing mountain bike derailleur cables and housings derailleur cables and hoses at least once a season for regular riders, to maintain optimum performance in your MTB drivetrain.
- Time : 30 min
- Level : Easy
- Tools : Allen key set | Phillips screwdriver | Cable cutter | Sheath cutter
Steps
- Put the ATV gearshift to position "0" (cable slack).
- Free the derailleur cable with the Allen wrench, then remove the sheath.
Probikeshop tip Make sure you mark the routing of the cables and casings before removing them, so that you can install the new components in the same way.
- Remove the gearshift cable (for SHIMANO: remove the cable cover with a screwdriver. For SRAM: remove the cover with an Allen key).
- Cut the new sheath to size, using the old one as a template.
- Place the new cable in the gearshift and close it.
- Thread the sheath over the cable and place it on the bike. Remember to thread the end caps too.
Probikeshop tip: if the sheaths are not pre-lubricated, you can put a few drops of oil on the cables before inserting them into the sheath to reduce friction.
- Finally, place the cable on the derailleur, stretching it slightly.
Once you've installed your new cable, all that's left to do is follow the derailleur adjustment tutorial.
Découvrez tous nos conseils & Tutoriels
MTB - Drivetrain Cables and Housings
-

Derailleur cable CLARKS DIE DRAWN Stainless Steel Polished
Regular price 2,49 €Regular priceUnit price per -
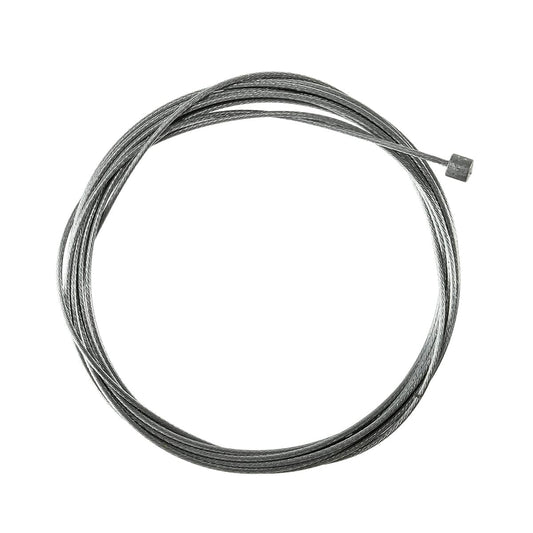
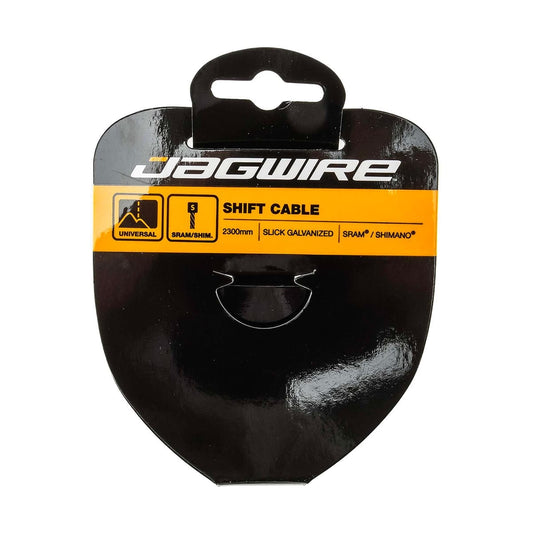
JAGWIRE SPORT Shimano/Sram derailleur cable
Regular price 2,89 €Regular priceUnit price per -
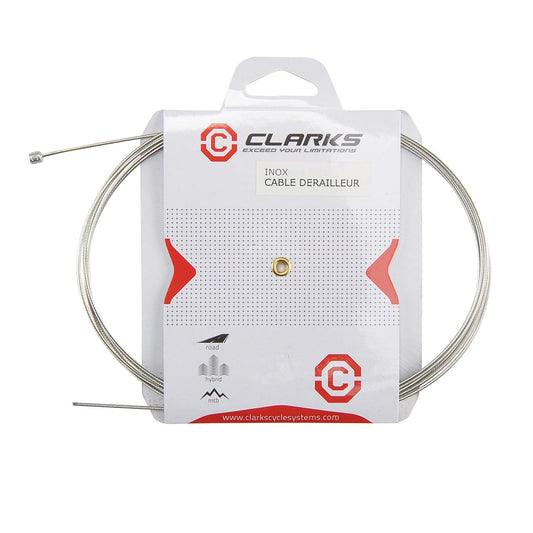
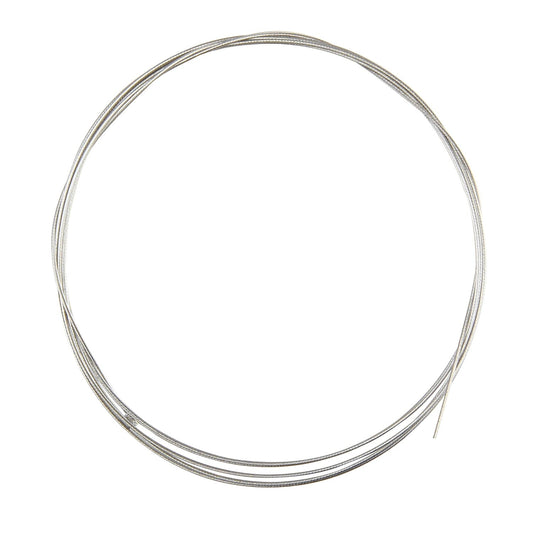
Derailleur cable CLARKS UNIVERSAL Stainless steel
Regular price 1,99 €Regular priceUnit price per -

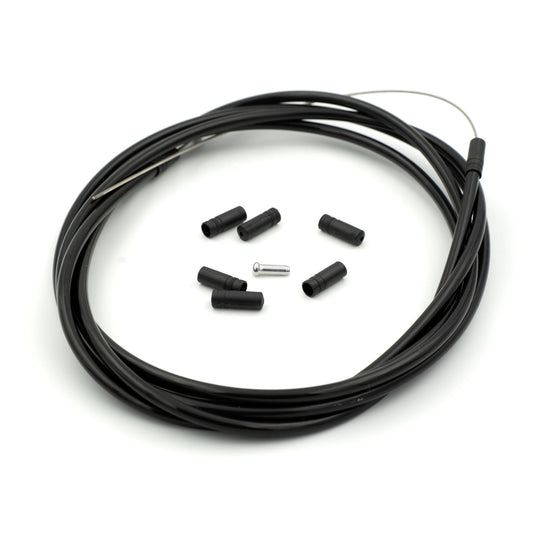
CLARKS Universal Derailleur Cable and Hose Kit Stainless Steel
Regular price 2,90 €Regular priceUnit price per -
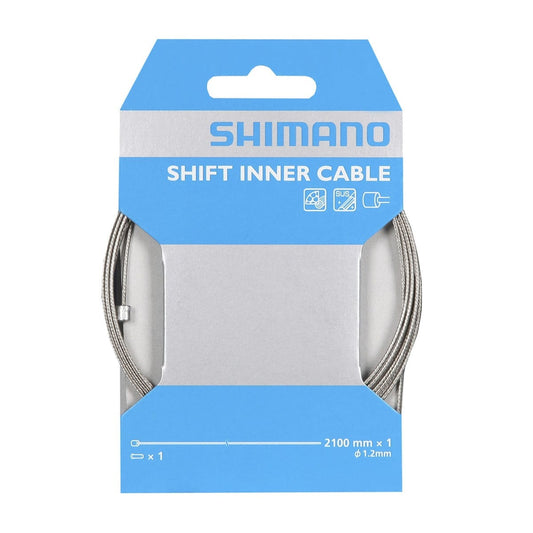
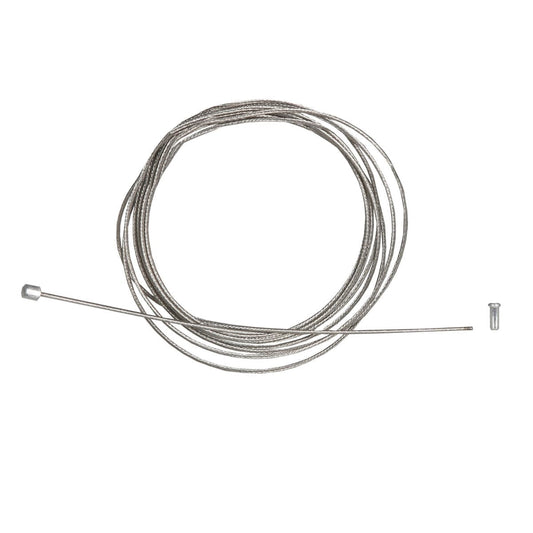
SHIMANO 2100mm stainless steel derailleur cable
Regular price 6,99 €Regular priceUnit price per -
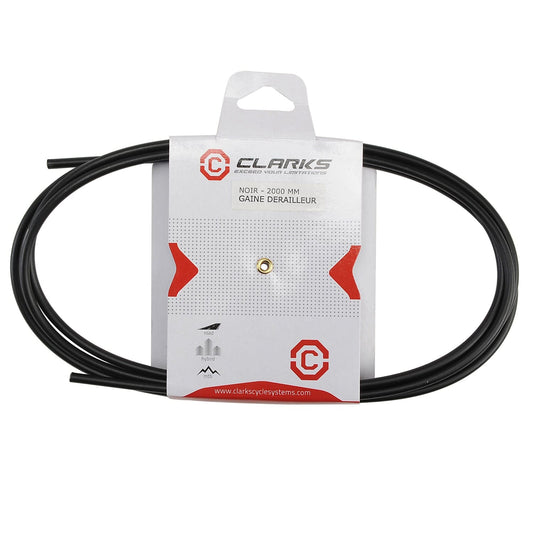
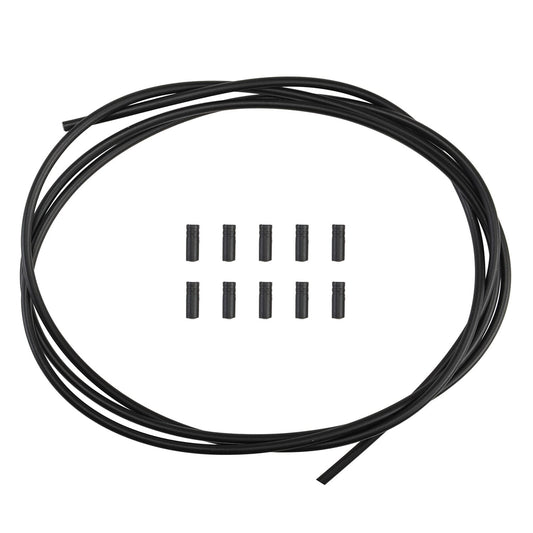
CLARKS 2000mm Derailleur Hose
Regular price 2,49 €Regular priceUnit price per -
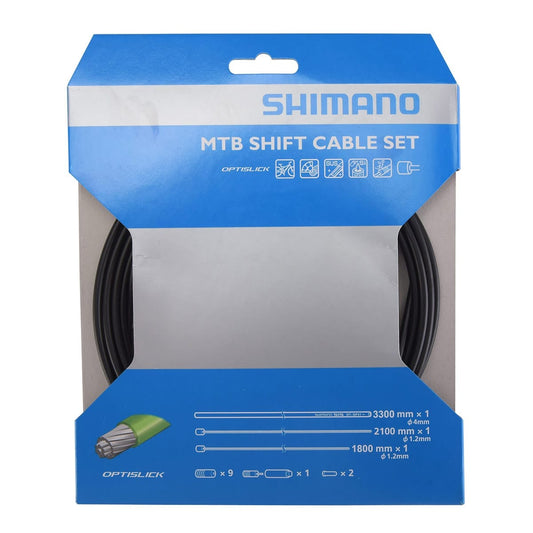
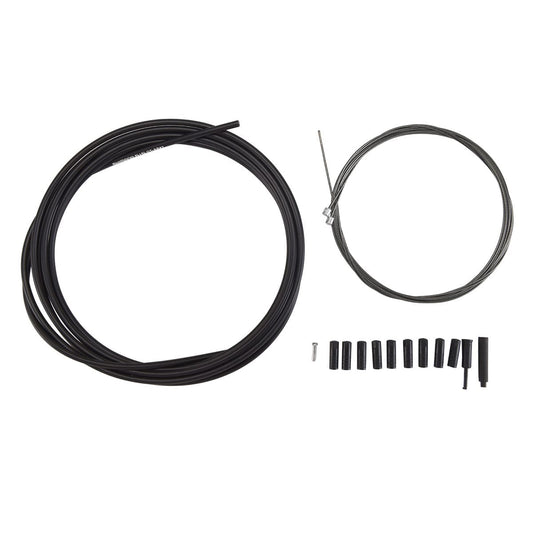
SHIMANO Derailleur Cable and Housing Kit MTB Optislick
Regular price 23,99 €Regular priceUnit price per


