


How to adjust your MTB disc brakes?

While fitting MTB disc brakes is fairly straightforward, the adjustment is somewhat more complex. Here is how to achieve high-performance braking without the pads touching the disc when you ride.
- Time: 30 min
- Level: Easy
- Tools: Allen key set | Torque wrench
Steps
- To correctly adjust the alignment of the brake callipers, they need to be able to move laterally.
Therefore loosen the 2 calliper bolts so that it can move from left to right relative to the MTB disc.
- Press the brake lever so that the calliper naturally seats itself on the disc.
- Tighten the calliper bolts just enough to hold it in place, then release the brake.
- Check that the disc is properly centred in the calliper and between the pads. Probikeshop tip: If this is not the case, remove the wheel, push the pads back into the calliper, reassemble everything and start again from step 1.
- Finally tighten the calliper bolts to the torque specified by the manufacturer using the torque wrench.
The brake is now adjusted. If the pads and/or discs are new, it is important to bed them in before heading out on the trails.
Découvrez tous nos conseils & Tutoriels
MTB - Complete MTB Brakes
-

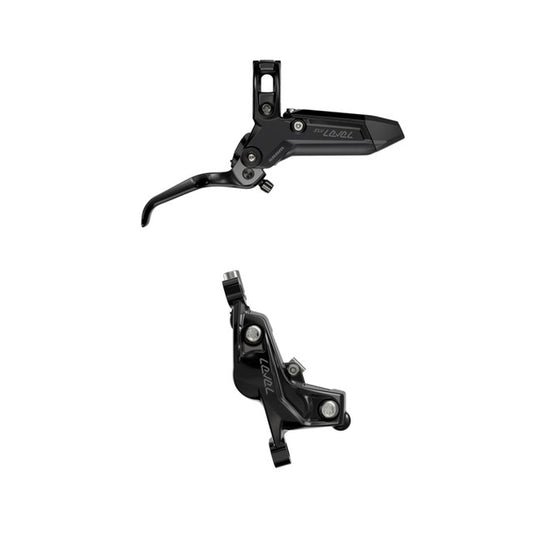
SRAM LEVEL SILVER STEALTH 4-Piston Brake Set Black
Regular price 129,90 €Regular priceUnit price per -

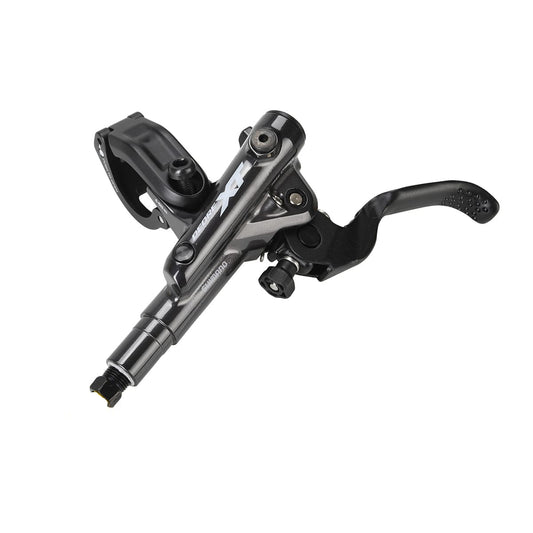
SHIMANO XT M8100 Front Brake J-KIT
Regular price 79,99 €Regular priceUnit price per -
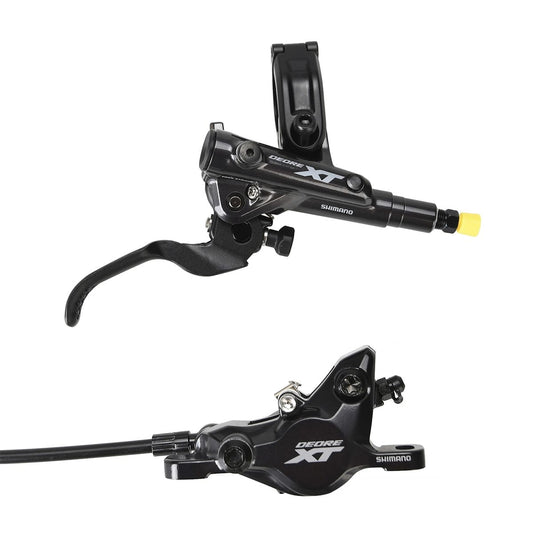
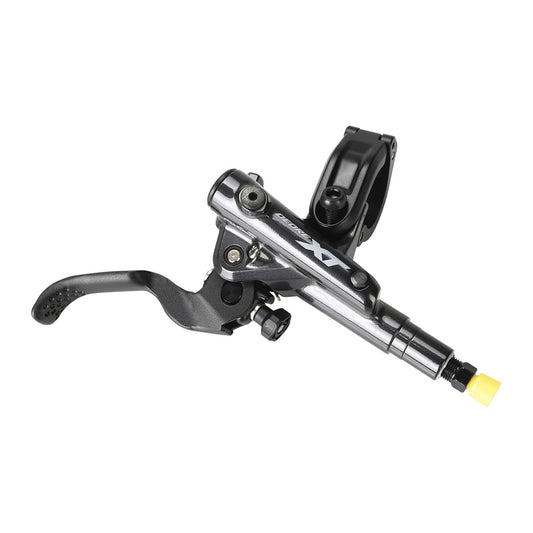
SHIMANO XT M8100 J-Kit Rear Brake
Regular price 84,99 €Regular priceUnit price per -
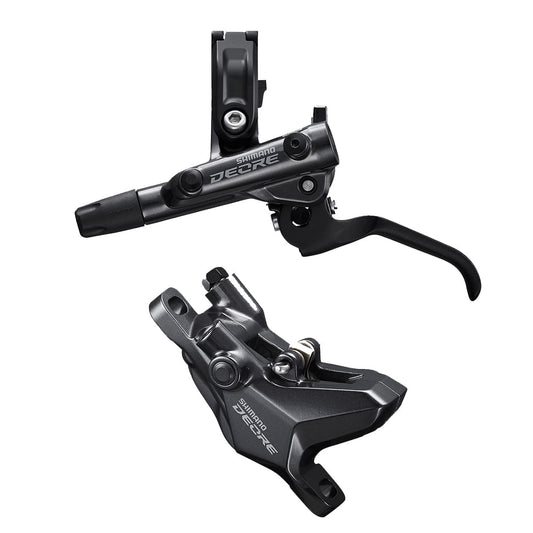
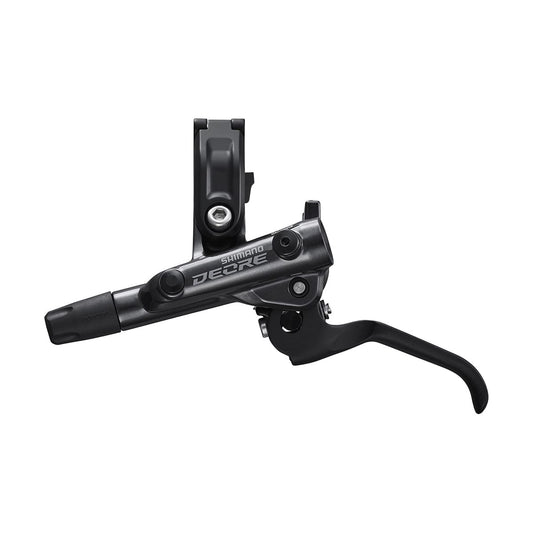
SHIMANO DEORE M6100 Front Brake J-KIT Hose 950mm
Regular price 59,99 €Regular priceUnit price per -

SHIMANO DEORE M6100 Rear Brake J-KIT
Regular price 64,99 €Regular priceUnit price per -
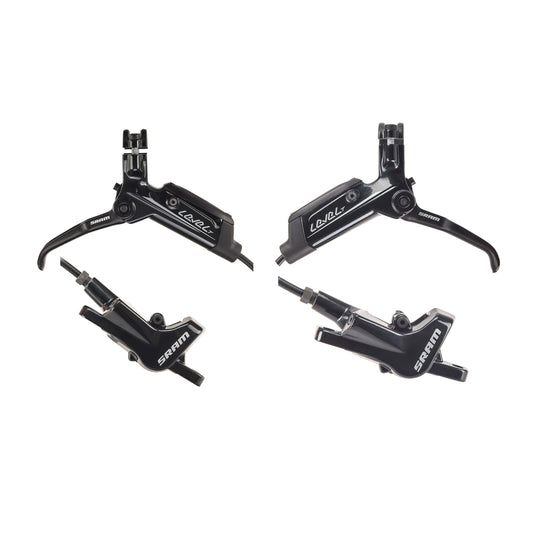
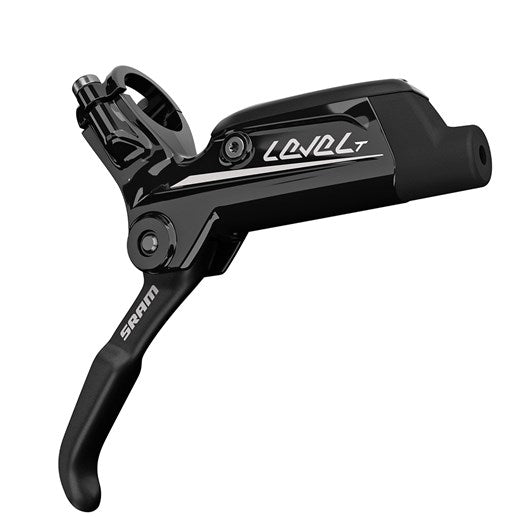
SRAM LEVEL T Brake Set Black
Regular price 49,99 €Regular priceUnit price per -
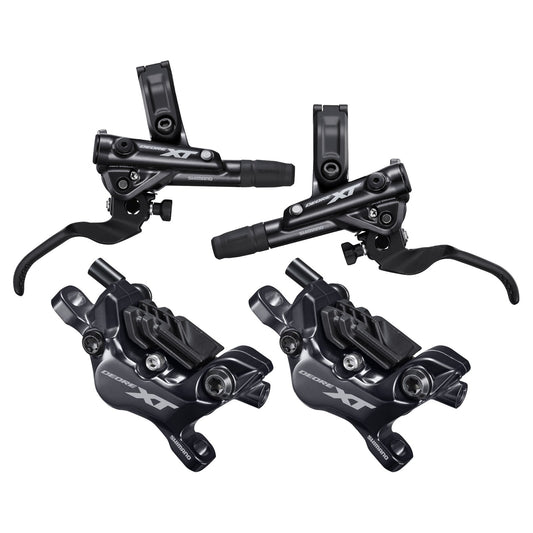
SHIMANO XT M8120 4-Piston Brake Set J-KIT Vented Organic Pads Disc-Free
Regular price 239,90 €Regular priceUnit price per -
 Sale
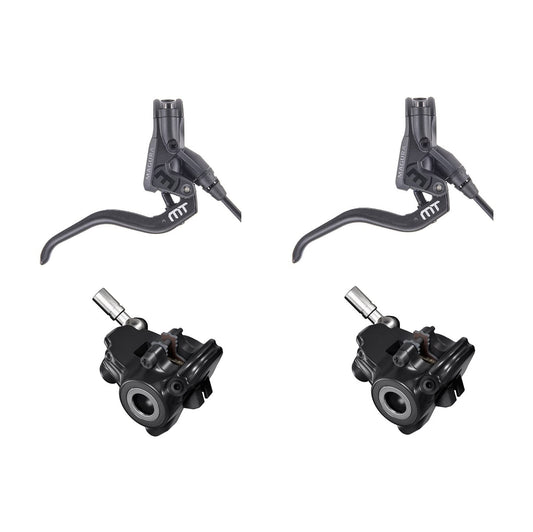
SaleMAGURA MT4 FLATMOUNT Brake Set Without Disc Black
Regular price 199,90 €Regular priceUnit price per217,80 €Sale price 199,90 €


