How to mount a square bottom bracket?

Your MOUNTAIN BIKE is fitted with a square-axle bottom bracket and you don't know how to do it? Don't panic, here's a tutorial to help you.
- Time : 45 min
- Level : Difficult
- Tools : Allen key 8 mm | Flat wrench 15 mm | Crank extractor | Spline wrench for square spindle / Isis / Octalink | Degreaser | Rags | Anti-seize assembly paste | Brush | Grease | Gloves | Torque wrench.
Steps
-
Disengage the chain from crankset.
- Using an 8 mm Allen key, unscrew the central screw which holds the crankset to the chainring-side housing.
-
Remove the crank from the bottom bracket using a special tool called an extractor:
- Screw the threaded part of the extractor into the thread of the bottom bracket (chainring side) and tighten with a 15 mm open-end wrench;
- Using the 8 mm Allen key, screw on the opposite part of the extractor. Force it in and you'll feel the crankset on the chainring side;
- Retrieve the extractor from the crank by unscrewing the threaded part;
- Carry out the same operations on the other side to remove the other part of the crankset (opposite chainring side).
-
Dismantle the housing bottom bracket. Start with the side opposite the chainrings. To do this, use a 20-spline wrench designed for square-axle or Isis/Octalink axles. As the housing is generally tightened to a force of 50 Nm, you'll need to use a minimum of force to loosen the adjustment ring. Now dismantle the housing itself on the plate side, again using the spline wrench.
Probikeshop tip: Be careful, on this side, loosening is clockwise.
- We take this opportunity to clean the bottom bracket with a quick degreaser.
-
Use anti-seize assembly paste to ensure effective clamping and prevent squeaking. Apply anti-seize with a brush to the bottom bracket, on the chainring side only.
Probikeshop tip: Do not apply anti-seize to the plastic adjustment ring, which should be dry-fitted.
-
Apply grease generously on the new bottom bracket to prevent water from penetrating the bearings. The bottom bracket is then fitted and screwed on from the chainring side, first by hand and then with the crank extractor, using a torque wrench and the tightening torque specified by the manufacturer (generally 50 Nm).
Probikeshop tip: Be careful, tightening is counter-clockwise on this side.
-
Then perform the same operation on the other side with the adjustment ring, this time with conventional clockwise tightening.
- The bottom bracket is now assembled. We'll now reassemble the cranks starting with the side opposite the chainrings. Start by greasing the housing/crank connection, as well as the crank tightening screw. Tighten the connecting screw with an 8 mm Allen wrench, then finish tightening with a torque wrench to a clockwise torque of 35 Nm.
-
Reassemble the chainring-side crankset starting by greasing the crank connection, as well as the clamping screw thread. Try to get the chain to bear on the bottom bracket, then insert the crankset, taking care to keep the left and right cranks opposite (one at the bottom, the other at the top).
Probikeshop tip: For easier operation, place the chain on the small chainring. Tighten the bolt with an 8 mm Allen key, then finish tightening with a torque wrench to a clockwise torque of 35 Nm.
Découvrez tous nos conseils & Tutoriels
MTB - Bottom Brackets and Bearings
-

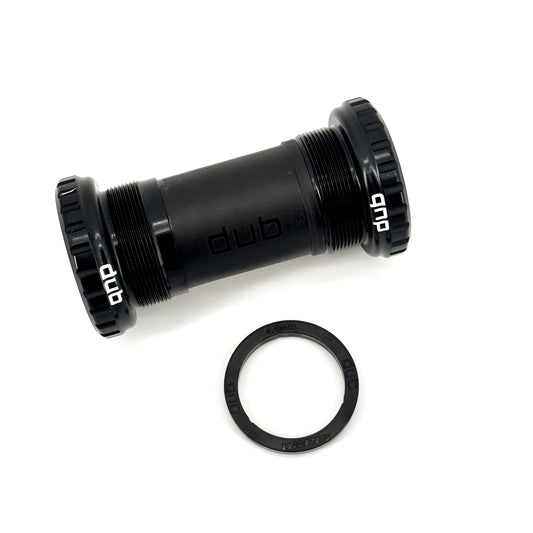
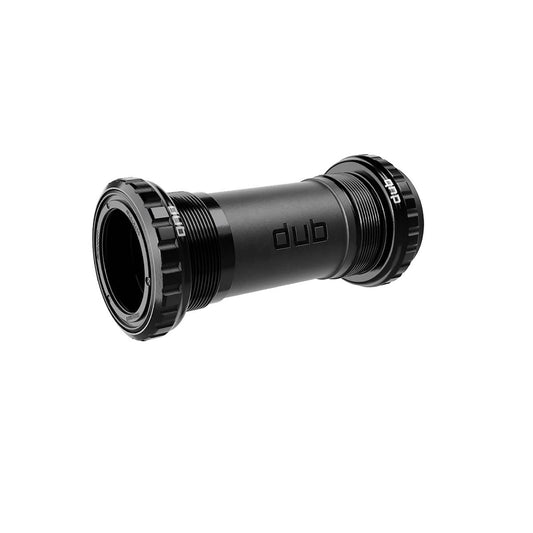
SRAM DUB BSA 73mm crankset
Regular price 19,99 €Regular priceUnit price per -
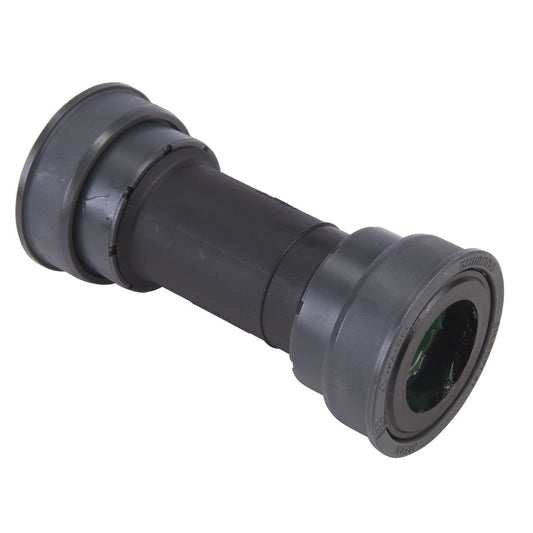
SHIMANO XT SM-BB71-41A Press Fit 89.5/92mm crankset
Regular price 12,99 €Regular priceUnit price per -
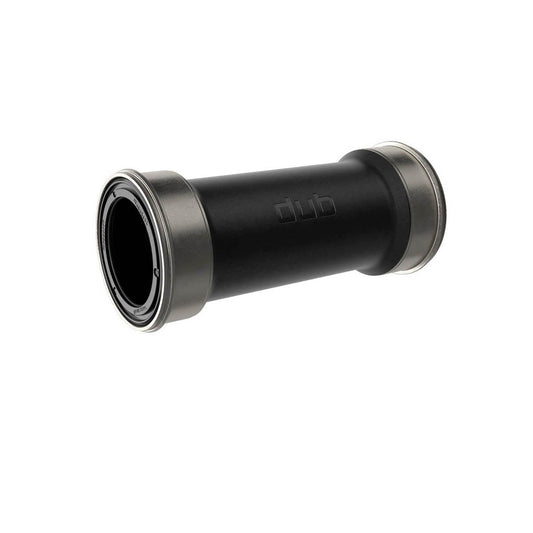
SRAM DUB PRESSFIT 89/92mm crankset
Regular price 35,99 €Regular priceUnit price per -
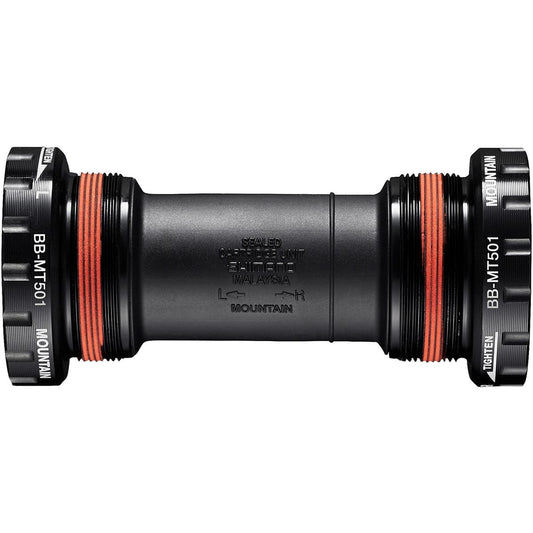
SHIMANO MT501 BSA crankset
Regular price 18,99 €Regular priceUnit price per -
SRAM DUB BSA 68/73 mm crankset
Regular price 29,99 €Regular priceUnit price per -
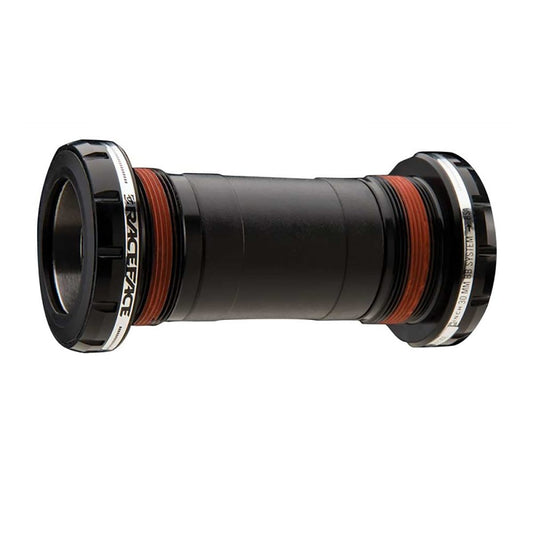
RACE FACE CINCH BSA/BSC 30mm 68/73mm axle crankset
Regular price 34,99 €Regular priceUnit price per -
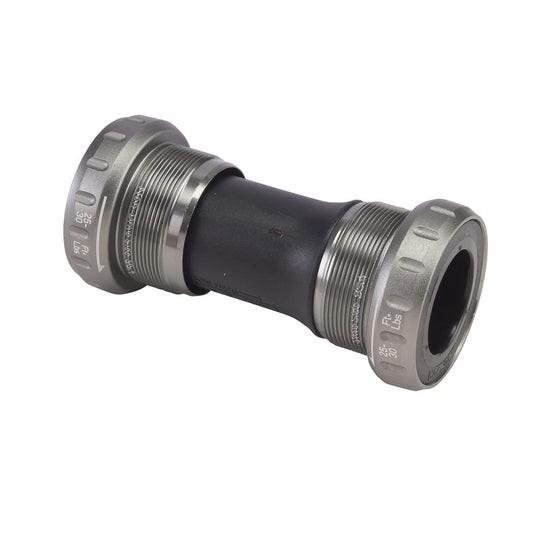
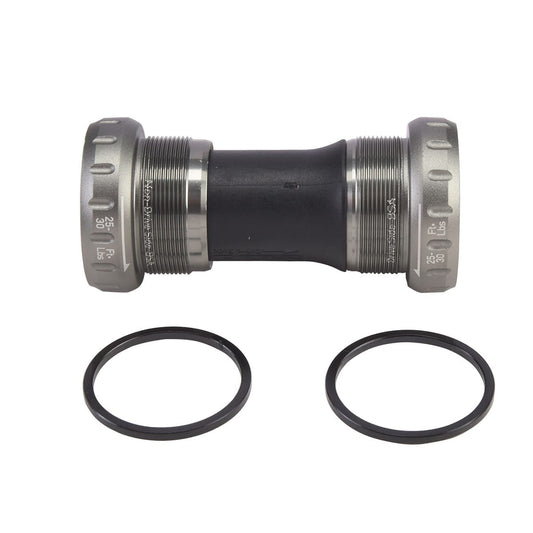
SRAM GXP TEAM BSA 68/73 mm crankset
Regular price 29,99 €Regular priceUnit price per -
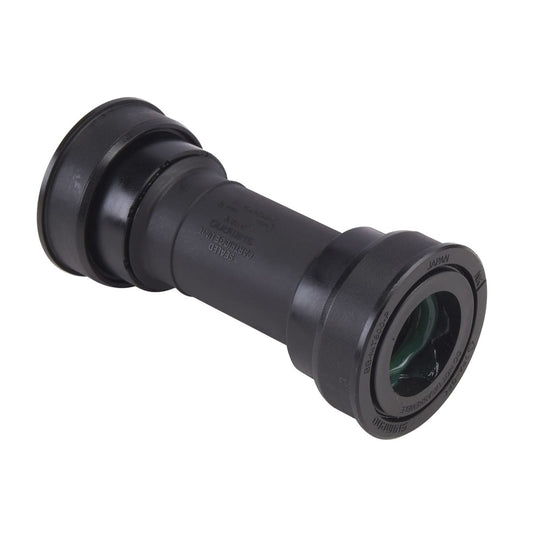
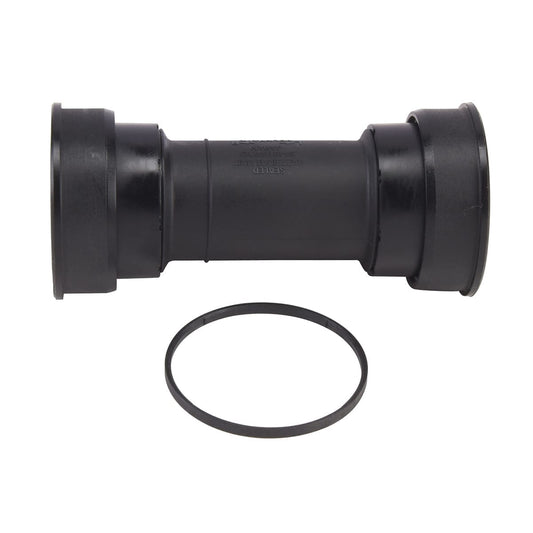
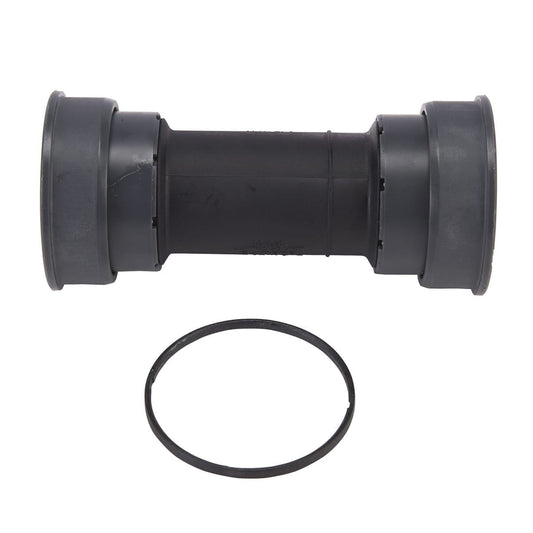
SHIMANO MT800 Crankset Press Fit 89.5/92mm
Regular price 24,99 €Regular priceUnit price per


