


How to fit a dual-crown MTB fork?

Have you just received your new dual-crown fork and don't know how to fit it on your mountain bike? Here is a video to help you carry out this operation without errors.
- Time: 60 min
- Level: Difficult
- Tools: 5 mm Allen key | Cable cutters | Saw | Fork crown race installer | Star nut setter | Fork crown race puller | Strap | Ruler | Deburring tool | Mallet | Grease | 14 mm open-ended spanner for fork crown race puller | Cutting guide | Socket set with torque wrench | Degreaser | Cloth.
Steps
- Remove the old fork. Beforehand, use a strap to secure it and make removal easier without risking damage.
- Remove the front wheel.
- Unscrew the brake calliper using a 5 mm Allen key, then the hose fitting with cable cutters. Wrap the hose with the calliper around the handlebar in a waiting position.
- Remove the stem cap and the top spacer, then loosen the stem clamping bolts. Finally, remove the handlebar and the lower spacer.
- Remove the upper crown by loosening the various bolts (on the model in the video, 3 bolts using a 4 mm Allen key).
- Undo the strap, now that the fork is in place; then remove the fork.
- Retrieve the fork crown race, which is a part belonging to the headset. To do this, use the fork crown race puller that we have just positioned against the lower crown.
- Install this crown race on the new fork after having first removed the upper crown from it. To press the crown race in, use the fork crown race installer and a mallet until you hear a dull thud. Probikeshop tip: We take this opportunity to check and clean the headset.
- Carry out a dry run assembly of the fork. Using the strap, secure it in place while paying attention to cable routing so that it does not get in the way. The dry run will allow us to determine the number of spacers needed and to define the required steerer length. Fit the upper crown, the stem, then the spacers. Once the spacer height has been confirmed, make a mark using a screwdriver or a scribe on the fork steerer to indicate the cut line, which will be 3 mm below this mark, in order to maintain an adjustment range for the headset.
- To proceed with the cut, remove the fork again by taking off in order the spacers, the stem, the upper crown, then the fork itself.
Probikeshop tip: On dual-crown forks, it is possible to remove the lower crown along with the steerer, which will allow for a simpler and cleaner cut, without significant overhang due to the weight of the fork, and to protect it from any swarf or metal filings near the seals. We take this opportunity to remove the fork bumpers using a degreaser or soapy water, then remove the lower crown. Reminder: Some frames have integrated bumpers. If this is the case, you will not need to refit them.
- Proceed with cutting the steerer: clamp the cutting guide in a vice and insert the steerer into the guide. Locate the mark made previously and cut 2 or 3 mm below it using a saw.
Probikeshop tip: Use a new blade to obtain a clean result. Then deburr the steerer with a deburring tool or abrasive paper.
- Refit the lower crown by tightening the bolts to 7 Nm using a torque wrench.
- Install the fork, paying close attention to the routing of hoses and cables. Secure it with the strap to hold the fork firmly in place during the fitting process. If necessary, install the bumpers, whose role is to protect the frame in the event of extreme handlebar lock.
- Remove the grease from the steerer to improve grip, then fit the upper crown with the stem and spacers. Do an initial tightening.
- Insert the star nut: thread the star nut onto the tool, then insert the whole assembly into the fork steerer and strike a few firm blows with a mallet. Then remove the tool. Grease the star nut threads and screw on the top cap.
- Remove the strap and make an initial headset adjustment: loosen the upper crown bolt and tighten the top cap to preload the assembly. The final adjustment will be made once the bike is on its wheels.
- Another very important point to check: the measurement recommended by the manufacturer between the top of the lower crown and the top of the stanchion tube.
- Refit the calliper, then the wheel.
- Proceed with the final headset adjustment.
- Operate the fork through 3 to 4 compressions so that it settles perfectly into position, particularly the stanchion on the axle. Then finish locking it using the lever located at the bottom of the right stanchion.
Your dual-crown fork is now fitted and ready to handle the biggest jumps!
Découvrez tous nos conseils & Tutoriels
FAMILY - MTB FORKS
-
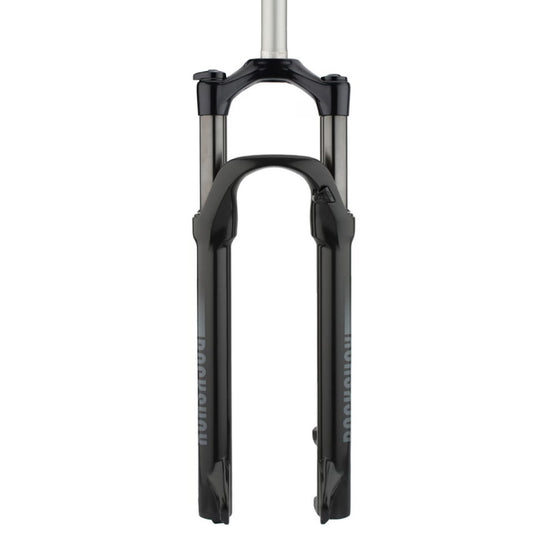
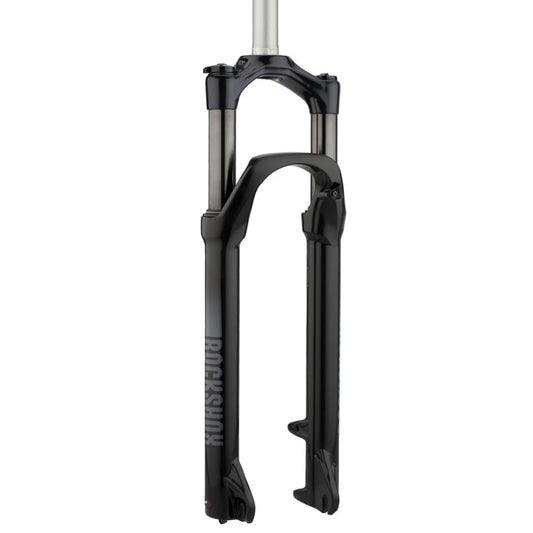
ROCKSHOX JUDY SILVER TK 29" SoloAir Straight Pivot 9x100mm QR Axle Black Fork
Regular price 169,90 €Regular priceUnit price per -
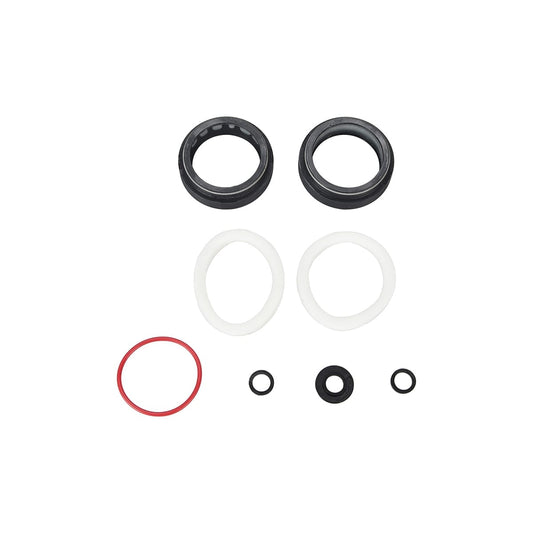
ROCKSHOX Ultra Low Friction Wiper Seal Kit Black Flangeless 35 mm #00.4318.045.004
Regular price 20,99 €Regular priceUnit price per -
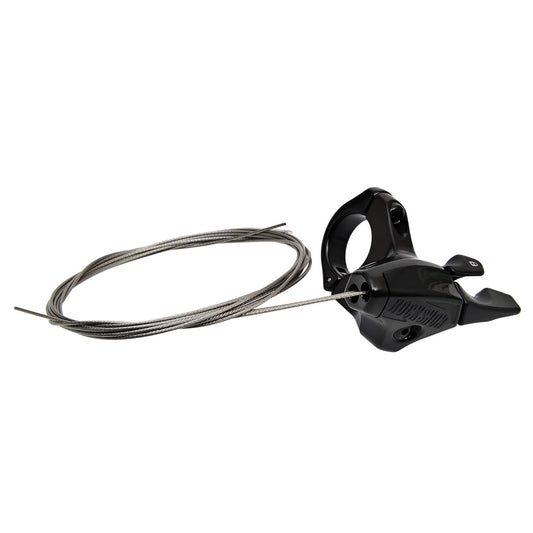
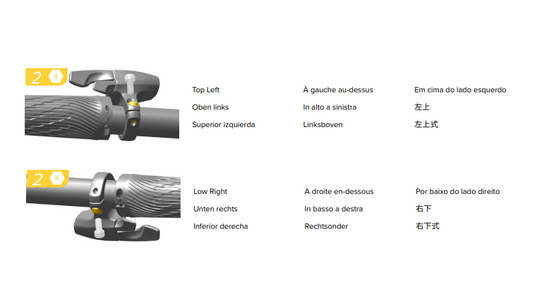
ROCKSHOX ONELOC FULL SPRINT Lockout Remote Left Top/Right Bottom
Regular price 29,99 €Regular priceUnit price per -
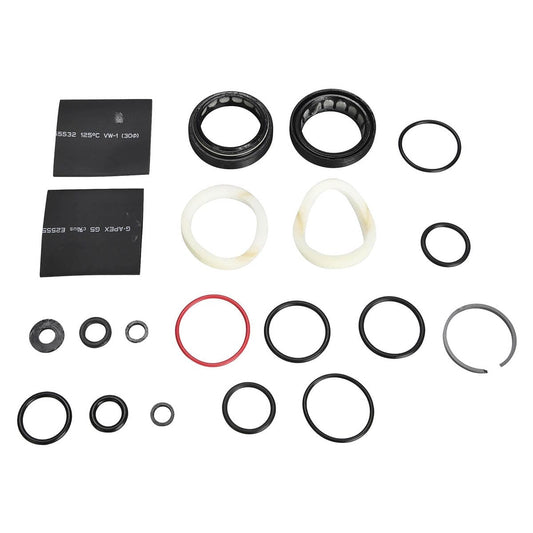
Complete 200H / 1-Year Seal Kit for ROCKSHOX 35 Silver R/Tk (C1) Fork #00.4318.025.150
Regular price 38,99 €Regular priceUnit price per -
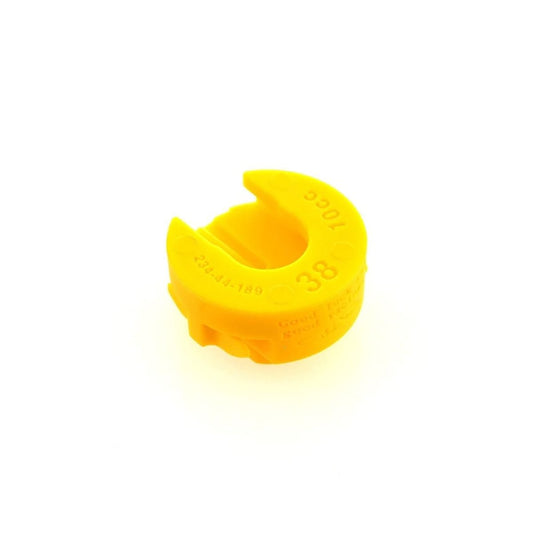
FOX RACING SHOX Token for FOX FLOAT 38 NA 2 Fork
Regular price 6,99 €Regular priceUnit price per -
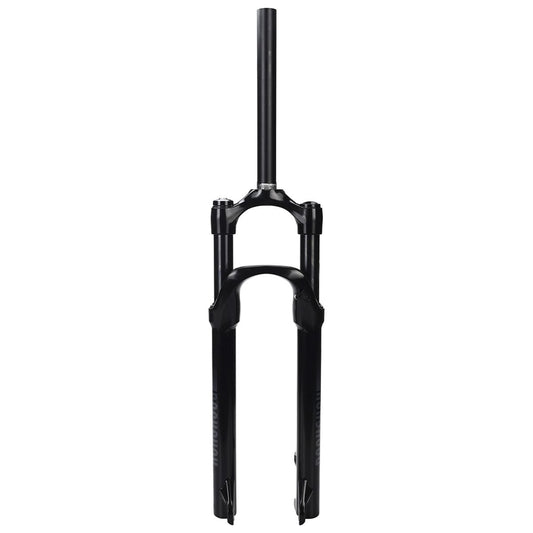
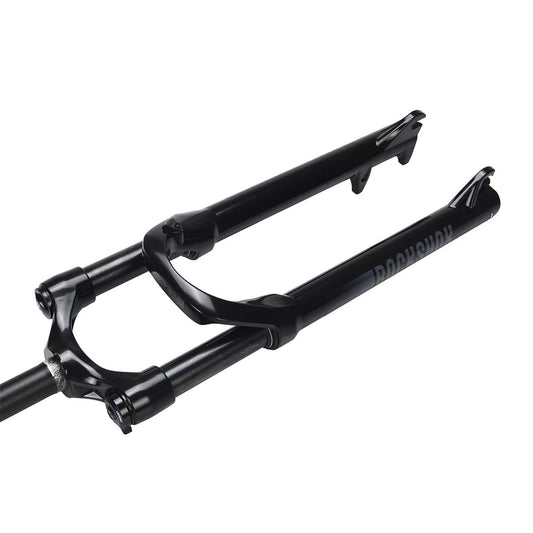
ROCKSHOX JUDY SILVER TK 27.5 SoloAir Straight Steerer 9x100 QR Axle Black Fork
Regular price 169,90 €Regular priceUnit price per -
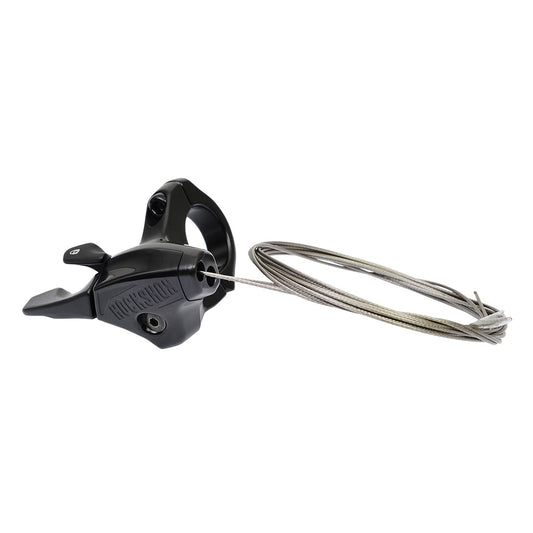
ROCKSHOX ONELOC FULL SPRINT Left Low/Right High Lockout Lever
Regular price 69,99 €Regular priceUnit price per -
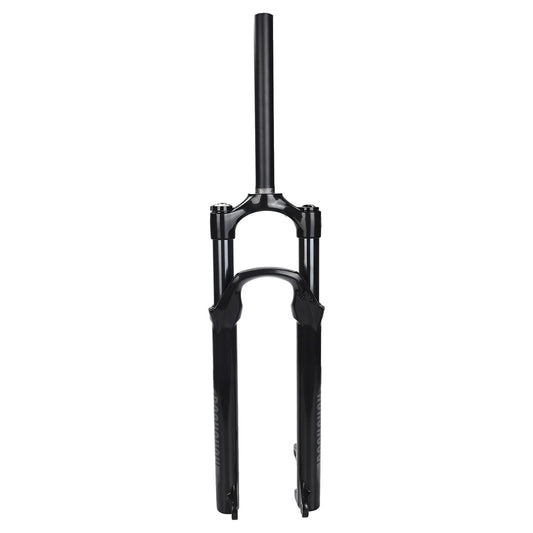
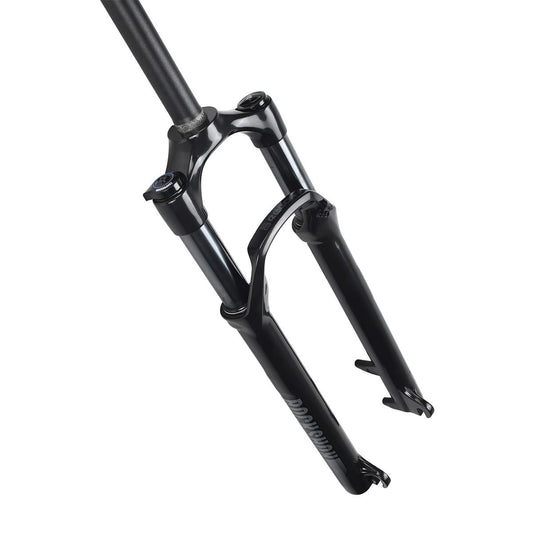
Fork ROCKSHOX RECON SILVER RL 27.5" SoloAir Straight Steerer Axle 9x100 QR Black
Regular price 199,90 €Regular priceUnit price per


