To reach the summit of a mythical mountain pass, to prepare for a first cyclosportive, to achieve results in a race... Everyone, at their own level, defines their own objectives. To progress and hope to perform on the big day, all cyclists need to follow a serious and well-adapted training program.
Here, Probikeshop develops some fundamental ideas and notions about road bike training. You'll understand everything there is to know about watts, the usefulness of a power meter, intensity zones, typical training sessions, the importance of recovery...
What are the objectives of road bike training?
Training is the means by which cyclists improve their physical condition, make progress and achieve their best level of performance.
Progressing and reaching your best level
For beginners and experienced cyclists alike, the aim of training remains the same: to progress! This means improving physical condition in general, and endurance, muscular and cardiovascular capacities in particular. In short, training enables you to ride harder and longer.
Cycling training is based on a few basic principles, such as regularity and progressiveness. To progress, you need to ride regularly and avoid (too) long periods of inactivity. You also need to gradually increase the number of outings per week and gradually extend their duration, without neglecting rest/recovery times.
Perform and reach your goals
Whatever your level, it's important to set goals that are within your reach. A cyclist's concrete objective is his or her best source of motivation, giving him or her a boost of morale when the going gets tough, whether it's putting up with heavy training in difficult weather conditions or finishing a boring home-trainer session.
Cycling training doesn't necessarily lead to a competition goal. Depending on your level, you may be aiming to take part in a local cycle tour, climb a mythical mountain pass, finish a demanding cyclosportive, try your hand at an ultra-distance event, achieve a result in a race, etc. Your objective must be consistent and have a clear goal. Your objective must be consistent and challenging, to justify a serious investment of your free time.
What are the golden rules of road bike training?
Efficient road bike training consists in programming your power build-up in view of your goal. It's essential to work on the basics first and foremost, to lay the foundations for progress.
Personalize your training approach
To be coherent and achievable, your training program must fit in with your schedule, your professional constraints and your family life. Your initial framework (e.g. 2 short sessions during the week + 1 longer outing at the weekend) must remain flexible and easily adaptable, depending on the weather, daily imperatives or how you feel. Don't hesitate to postpone a session if necessary, or to replace it with a home-trainer session.
Your training plan is built around the characteristics of the race/cycle you're preparing. It's a good idea to include specific exercises to match the difficulty of the course ahead (course profile, duration of the event, intensity of effort).
Build your training plan to progress
To draw up your training plan and hope to arrive in good shape on D-day, you need to structure your weeks of preparation in advance, working backwards from the date of the event. Developed over a minimum period of 2 months or 9 weeks (the basic outline for beginner-level training), your program should provide for a gradual build-up.
Cyclist training is usually based on successive work cycles, interspersed with recovery periods. Work cycles enable you to concentrate on clearly identified areas of progress. The classic pattern is to start with some intensity on the basics, then move on to strength/velocity work, before moving on to high-intensity exercises, to get closer to racing sensations.
The idea behind training structured in work cycles is to make physical progress step by step, without rushing through the stages, so that the body can gradually assimilate the effort involved. The training load must always remain linear. Sudden bursts or power increases are counterproductive, as they can lead to fatigue.
Basic endurance training
Basic training is the foundation of road bike training. A cycle focused on endurance should provide a solid foundation on which to build effective preparation.
Endurance rides" target moderate intensity, around 80% of the cyclist's potential. The idea is to "ride easy", at a pace that doesn't generate muscular pain or breathing difficulties. The aim is not simply to rack up the kilometers, but to ride at the right pace, with enough margin to be able to follow up the next session in the best possible conditions.
The concrete effects of a cycle of endurance training are gradually felt on the initial level. Cyclists gradually make progress, (re)finding their feet on the bike and (re)acclimatizing their body to the pedaling position and gestures. They also familiarize their bodies with energy expenditure and the physical and mental sensations of long outings.
The foncier cycle provides a gradual build-up in volume. This solid base of endurance then enables you to better cope with intensities, converting them into fitness points without letting excessive fatigue set in. If you skip the endurance stage, you're more likely to suffer in your preparation.
The importance of recovery
It's essential to include recovery phases in your training plan, as they have a direct influence on the progression mechanism.
When it comes to cycling recovery, we need to distinguish between active and passive recovery. Active recovery is a session in its own right: it involves "walking the bike" by turning your legs, simply to activate your muscles. The recovery pace is lower than the endurance pace, but does not create fatigue. Passive recovery consists of not touching the bike for 3 or 4 days ("micro-coupage") or a week ("coupage").
It's vital to manage these recovery phases properly! It's important not to wait until you're overworked ("overtraining" syndrome) before taking a break, as excessive fatigue would necessitate prolonged rest, which in turn would cause a drop in your physical level (loss of training gains). It is therefore advisable to plan recovery phases during preparation, in the form of micro-breaks, after an intensive work cycle/block or after a heavy training week.
Understanding the principle of overcompensation :To fully understand the link between training, recovery and progression, we need to explain the phenomenon of "overcompensation", which lies at the heart of cycling training.Behind the principle of overcompensation lies the physiological mechanism that triggers the improvement in the cyclist's fitness and progression. It's a re-adaptation of the organism, which has the effect of converting training into fitness points. The aim is to create fatigue by means of an intensive training cycle, which will first shock the body, before provoking a positive reaction on performance levels. The body gradually adapts to the workload and finds new resources. The overcompensation cycle ends with a decisive recovery period, which relieves the body of all stress and reduces the fatigue curve. In short, cyclists are paid back for their training efforts.
The 3 phases of the overcompensation cycle
- Intensive training that tires and stresses the body, leading to a drop in physical capacity;
- Recovery phase which enables the body to assimilate the first loads and better support a new period of intensive training - a progression sets in;
- Recovery phase to eliminate fatigue and "overcompensate", to pass a final physical hurdle before the goal.
The challenge for the cyclist is to measure, proportion and articulate training and recovery phases. Training must be progressive, but significant, to encourage the body to adapt. As for recovery, it must be sufficient to trigger overcompensation reflexes. If the recovery period is too long, you lose the effects of the training and your form starts to regress.
Progressing on a road bike
Training techniques to go further
The training of experienced cyclists is based on a highly mastered approach, which makes it possible to calibrate the rider's sessions with scientific precision, as part of a tailor-made program.
The importance of the anaerobic threshold in cyclist training
To calibrate and personalize your training, it's essential to establish your rider profile, with the physiological data you need to monitor your performance (anaerobic threshold, MAP, HR max, FTP). These data enable you to target your training efforts, work at the intensity level you need to build quality sessions, and assess your performance and progress over the weeks.
The anaerobic threshold corresponds to a maximum level of effort, "the threshold" beyond which the body produces more lactate than it eliminates, when lactic acid accumulates in the blood and tetanizes the muscles. This is the maximum level of intensity you can sustain over a long period of time (a prolonged effort such as a time trial or a fast climb up a mountain pass), before the muscle pain becomes too great and forces you to slow down.
There are several ways of defining your anaerobic threshold, via a laboratory stress test with regular measurement of lactate levels in the blood, or with an FTP road test (20 minutes of effort uphill). FTP (Functional Threshold Power) provides an estimate, in watts, of the average maximum power developed over a one-hour effort. It's interesting to refine this raw power with the "weight" variant, to find out your weight/power ratio (in watts/kg), a valuable datum for assessing your potential in the mountains.
Other data are essential and must be known: maximum heart rate (FC Max) and maximum aerobic power (PMA).
- Max HR Peak heart rate at high intensity. Climbing road test with heart rate monitor (maximum effort over 5');
- PMA power at VO2 Max level when the body's oxygen consumption rate reaches its maximum capacity. Climbing road test with power meter (maximum effort over 5').
Intensity zones for optimizing training efforts
Once this data has been defined, you can use it to fine-tune your training exercises, targeting the right intensity zones at each stage of your preparation. Experts in road bike training have developed guidelines that distinguish between different intensity zones, based on the values mentioned above (HR Max, PMA, FTP).
Here are some of the most widely used guidelines for cycling training.
| Intensity zone (exercise duration) | Max HR | PMA | Perception of effort |
|---|---|---|---|
|
i1 - Light intensity / Relaxation (several hours) |
< 75 % |
40 - 50% PMA |
No muscle pain Very easy to talk to Exhaustion after several hours |
|
i2 - Medium intensity / Fundamental endurance (several hours) |
75 - 85 % |
50 - 60% PMA |
No muscle pain Easy conversation Exhaustion after 3 - 4 hours |
|
i3 - Sustained intensity / Pace (1-2 hours) |
85 - 92 % |
60 - 70% PMA |
Muscle soreness increases + (+) Painful conversation Exhaustion after 2 hours |
|
i4 - Anaerobic threshold intensity (20-60 minutes) |
92 - 96 % |
75 - 80% PMA |
Muscle pain increases ++ Difficult conversation Severe exhaustion after 20'. |
|
i5 - Over-critical intensity / PMA (5-10 minutes) |
96 - 100 % |
100% PMA |
Muscle pain increases +++ Conversation very difficult Complete exhaustion between 5 and 10'. |
|
i6 - Sub-maximal intensity / Anaerobic lactic power (30-120 seconds) |
100 % |
1.5 x PMA |
Significant nervous fatigue Maximum muscle pain Conversation impossible |
|
i7 - Maximum intensity / Anaerobic alactic power (< 7 seconds) |
90 - 95 % |
2.5 x PMA |
Very high nervous fatigue No muscle pain Feels like exercise in apnea |
| Level | Exercise type | Power (% of FTP) | HR | Sense of effort (RPE scale) | Exercise duration |
|---|---|---|---|---|---|
|
1 |
Active recovery |
< 55 % |
< 68 % |
< 2 |
Infinite |
|
2 |
Endurance |
56 - 75 % |
69 - 83 % |
2 - 3 |
> 2 h 30 |
|
3 |
Tempo |
76 - 90 % |
84 - 94 % |
3 - 4 |
< 2 h |
|
4 |
Anaerobic threshold |
91 - 105 % |
95 - 105 % |
4 - 5 |
10 - 60 minutes |
|
5 |
VO2 Max |
106 - 120 % |
> 106 % |
6 - 7 |
3 - 8 minutes |
|
6 |
Anaerobic capacity |
121 - 150 % |
Not significant |
> 7 |
30 seconds - 2 minutes |
|
7 |
Anaerobic alactic power |
Not significant |
Not significant |
Maximal |
5 - 15 seconds |
These 2 scales show that there's no single path to progress in road cycling. Choose the one that suits you best, according to how you feel.
Should I use power or heart rate?
There are 2 ways of calculating training intensity and load: power ("watts") and heart rate.
For a more accurate measurement, we recommend using power. In fact, monitoring watts ensures that you're in the right zone, and that your session is properly calibrated, regardless of external conditions.
If you only have a cardio belt, it's a good idea to use it. You can use your HR Max as a basis for determining your work zones. However, you should be aware that there is a margin of error, as your heart rate can change according to your state of fatigue and fitness. What's more, there's always a lag time between the moment you start exercising and the moment your heart reaches its target intensity.
Your heart rate allows you to analyze your level of fitness/fatigue over the weeks. A heart rate that drops rapidly after sustained effort, or a slow heart rate at rest, are indicators of good form.
To sum up the power/cardio match, it's important to remember that watts enable you to better calibrate your training, while heart rate is always useful for assessing your current form.
Some examples of road bike workouts
Depending on your objectives, you can perform different exercises to progress, fuel and vary your training program.
| Axis of work / progression | Output description | Intensity zone (ESIE scale) | Target exercise duration | Benefits / Gains |
|---|---|---|---|---|
|
Endurance |
Long fundamental endurance outings, without exceeding your FTP |
i2 - Medium intensity |
3 hours |
Push back your endurance zone Feel comfortable over longer distances Gain consistency in your training plan |
|
Sub-maximal strength |
Repetition of low-tempo exercises |
i3 - Sustained intensity |
5 sets of 5 minutes at 50 rpm |
Gain power Be able to ride higher gears Working on the pedaling gesture |
|
Anaerobic threshold |
Repetition of threshold exercises with recovery interval |
i4 - Threshold intensity / i2 - Average intensity (recovery) |
3 sets of 10 minutes at threshold (i4) + 5 minutes recovery (i2)) |
Increase your anaerobic threshold Be able to repeat threshold efforts |
|
PMA |
Repetition of exercises around your PMA with recovery interval |
i5 - PMA intensity/ i2 - Average intensity (recovery) |
5 sets of 1 minute at PMA (i5) + 1 minute recovery (i2) |
Push back your PMA Be able to repeat efforts in the i5 zone |
|
Lactic |
Repetition of long sprints with large recovery intervals |
i6 - Sub-maximal intensity |
3 30-second sprints every 30 minutes |
Support lactic acid build-up Increase pain tolerance Gain power |
What are the useful tools for progressing on a road bike?
Probikeshop offers a wide range of road bike training aids to help you run your sessions efficiently and monitor your performance over time.
The home trainer
The home trainer is an excellent tool for performing specific work over a short period of time. When you get on your home trainer, you need to make the most of the time you spend on it, as the session will rarely exceed 90 minutes.
Forget endurance, home-trainer work will be qualitative - except in the case of a recovery session to turn your legs. Intensity, strength, pedaling gestures... All kinds of exercises are available to you.
The advantage of the home trainer? Work out your intensities in a linear way, with total control, without being hindered by traffic. Come winter, the home trainer is your ideal training partner, ensuring you don't lose any of the gains you've made over the past season.
Today, with all the technological advances and motivating applications on the market, the home trainer has become a connected, fun, attractive object.
The cardio belt
The cardio belt (cycling heart rate monitor) lets you manage your workout, analyze it and measure your state of fatigue. Your heart rate belt can also follow you off the bike, especially in the morning, to check your pulse at rest.
The power sensor
The power meter remains the essential element for quality cycling training. It's useful for measuring your effort, to avoid starting out too quickly on longer repeats. Your power sensor also collects performance data, which you can analyze when you get off the bike.
Training follow-up tools
Of course, your training doesn't stop once you've put the bike away. All your data can be transferred to your favorite training tracking platform. This tool allows you to personally measure your workload and fine-tune your training plan based on the values collected. It also allows you to communicate your data to your trainer directly after your outing.
Conclusion
Road bike training is a special field where expertise and sensations come first. It absolutely must be personalized according to the individual, the time of year and your own objectives. It's up to you to choose the method you wish to explore, because there is no single path to progress. The most effective training does not consist in following the best exercises, but in finding the model best suited to your overall level, but also to your current level.
Road - Power Meters
-
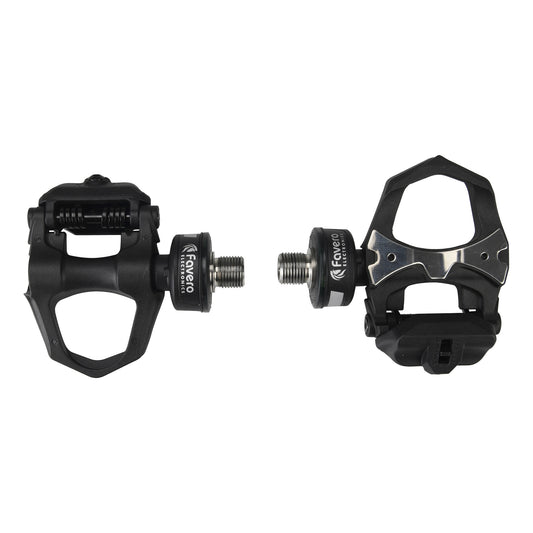
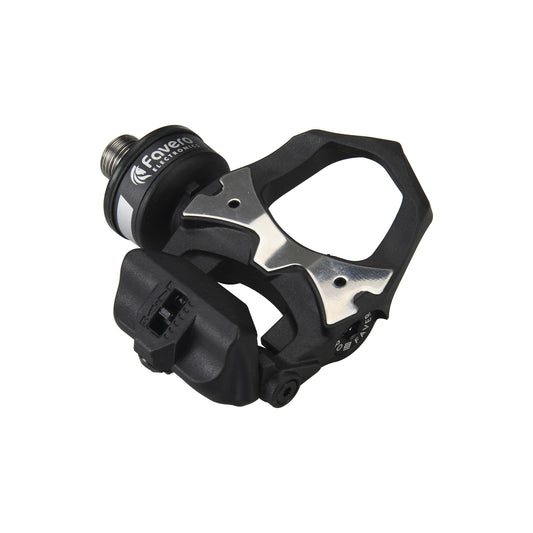
Pedals Power Meter FAVERO ASSIOMA DUO
Regular price 449,90 €Regular priceUnit price per -
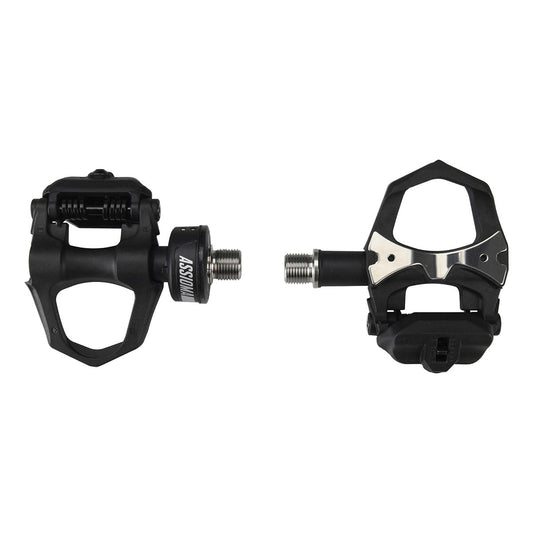
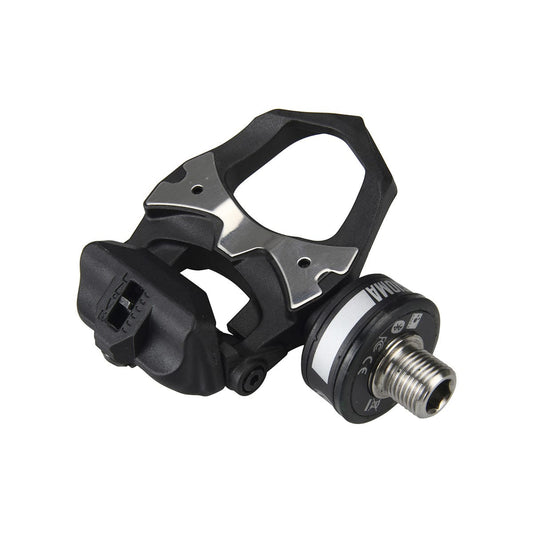
Pedals Power Meter FAVERO ASSIOMA UNO
Regular price 329,90 €Regular priceUnit price per -

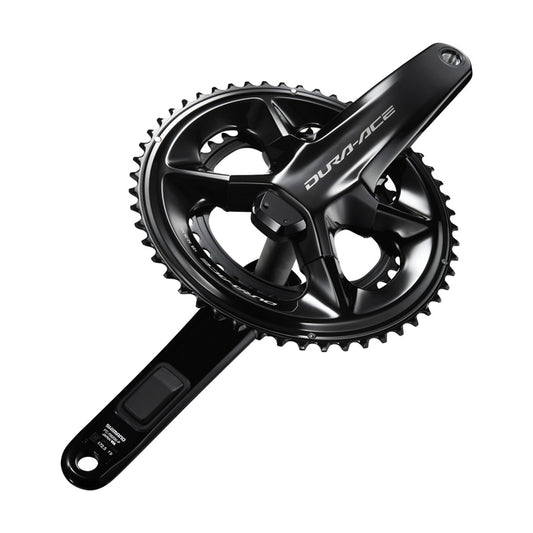
SHIMANO DURA-ACE R9200-P 12V Power Sensor Crankset
Regular price 899,90 €Regular priceUnit price per -
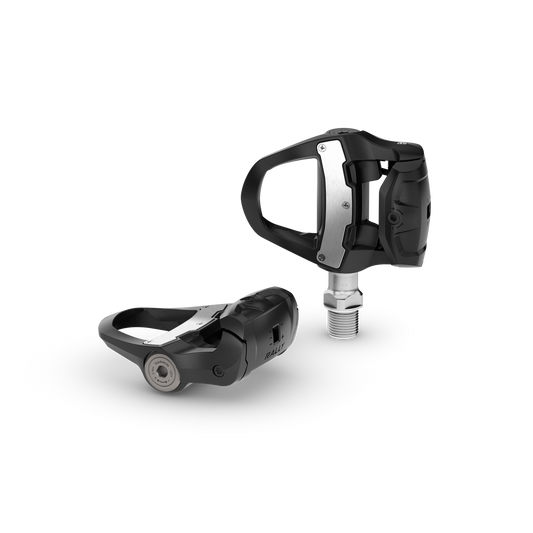
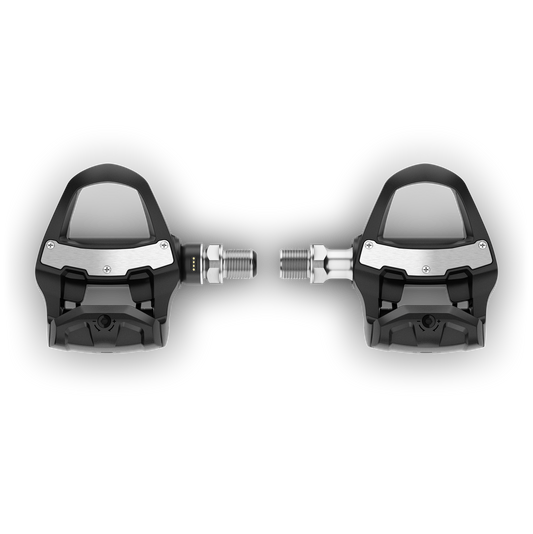
Pedals Power Meter GARMIN RALLY RK 110
Regular price 649,99 €Regular priceUnit price per -
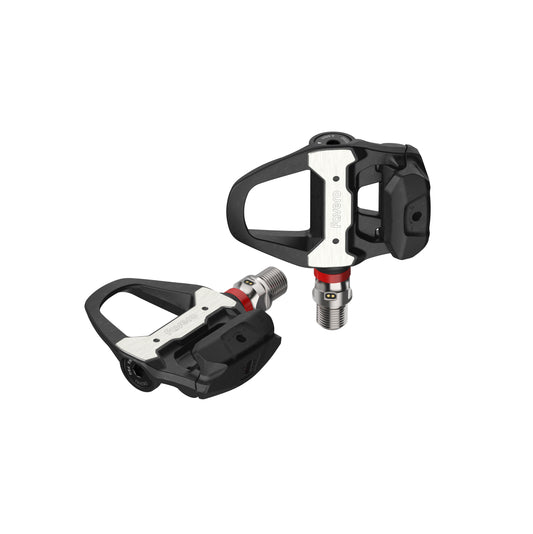
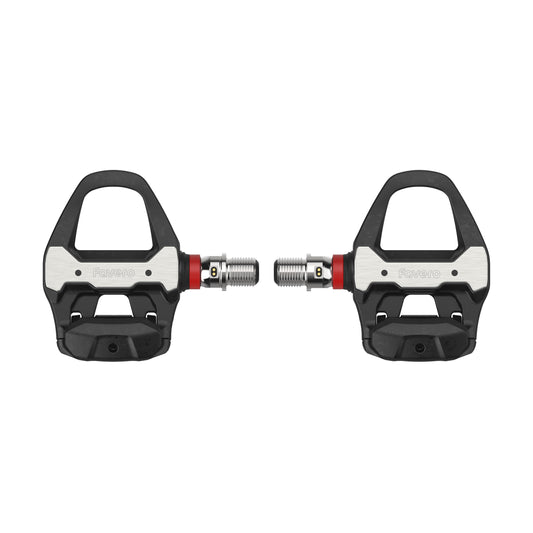
FAVERO ASSIOMA PRO RS-2 Power Meter Pedals
Regular price 694,90 €Regular priceUnit price per -
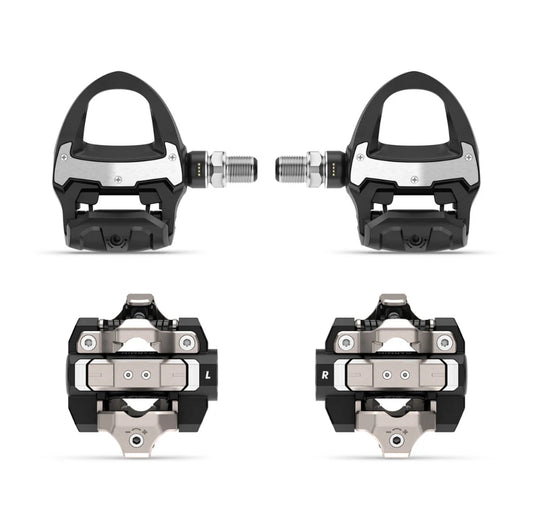
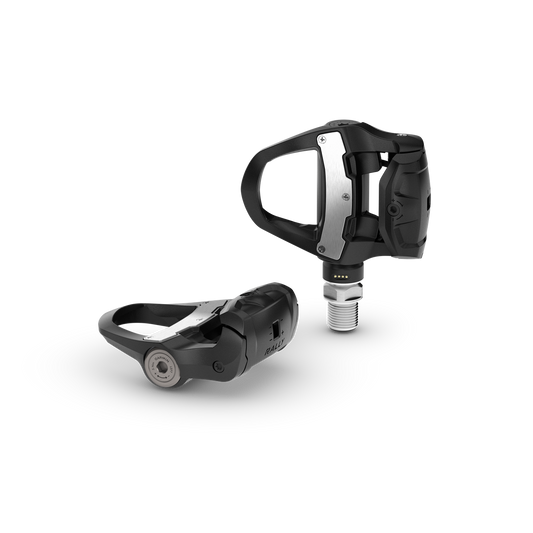
Power Sensor Pedal Kit GARMIN RALLY RK/XC 210
Regular price 1.249,90 €Regular priceUnit price per -
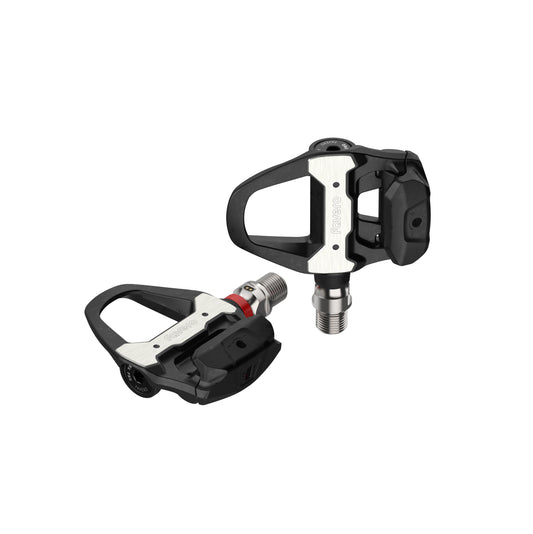
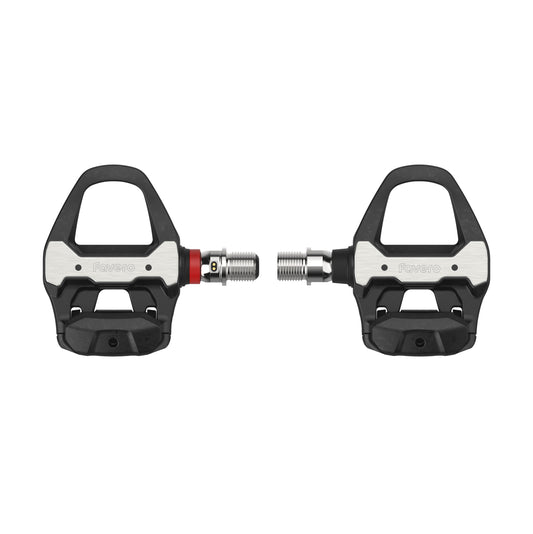
FAVERO ASSIOMA PRO RS-1 Power Meter Pedals
Regular price 435,90 €Regular priceUnit price per -

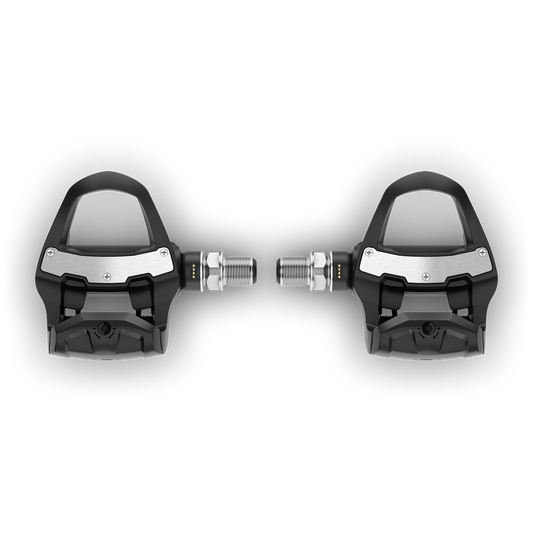
Pedals Power Meter GARMIN RALLY RK 210
Regular price 1.039,90 €Regular priceUnit price per


